


By Jules Rhee, MEd | Latest update 8/9/2023
Build a Strong Foundation

Work on skip-counting – A LOT!
I began early in the year and continued to review it on a regular basis. You can incorporate skip-counting into normal, everyday moments, like when students are lining up for recess or standing in the cafeteria line. It doesn’t require any extra supplies or planning – it’s teaching on the go!
I highly encourage daily skip-counting exercises for second and third-graders. I believe it’s a skill that is ok to over-teach. Practice skip counting by 2s, 5s, 10s, and even 25s. Yes, my class even skip counts by 25s, saying “25, 50, 75, 100, or one dollar.”
To make skip-counting more engaging, use multiple senses, such as sight, hearing, touch, and movement. Have students toss a beach ball while saying the numbers in the skip-counting series for a quick and easy game. They can march in place, hop on one foot, or even sing and dance along to songs on Youtube.
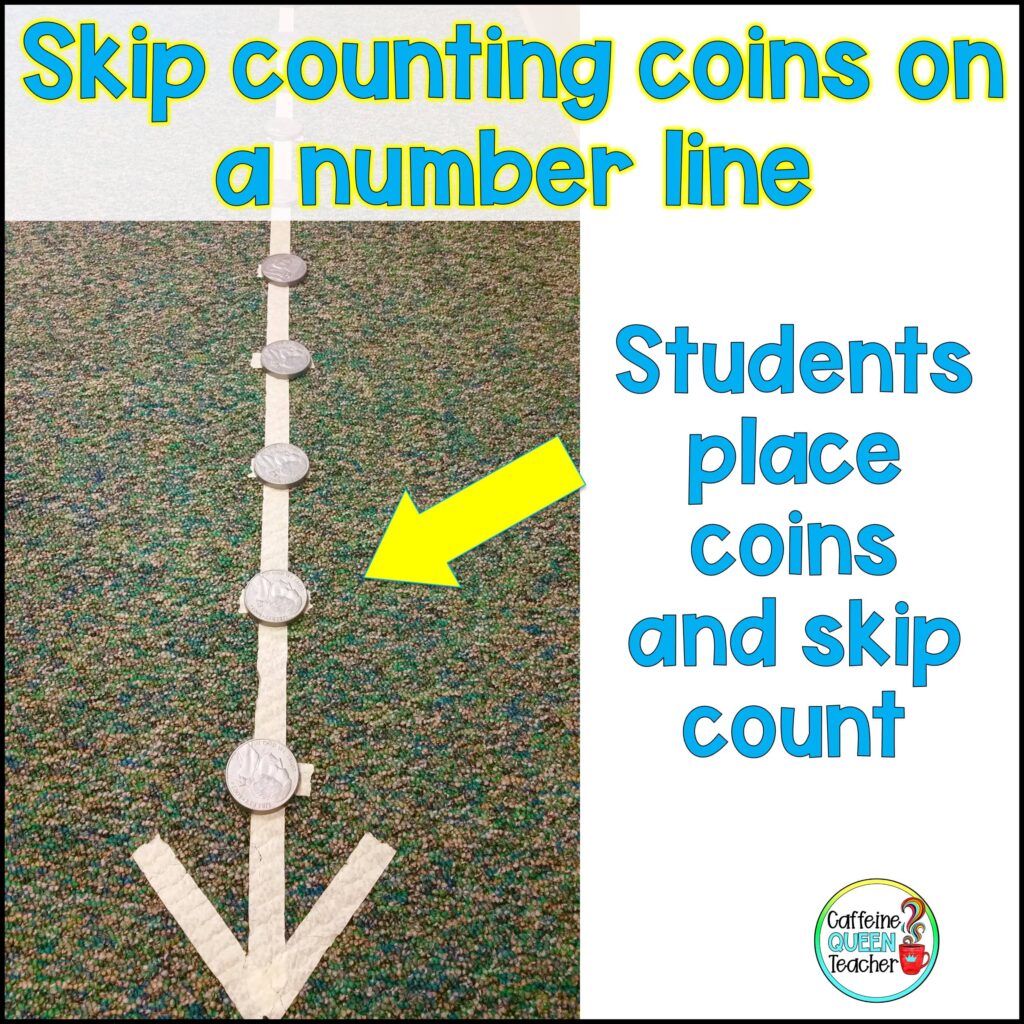
You can also find some engaging hands-on number line activities and hundreds chart activities for students. The more they work with numbers and coins, the more automatic counting becomes.
I always used hands-on teaching techniques to help students understand the value of coins and their relation to numbers.
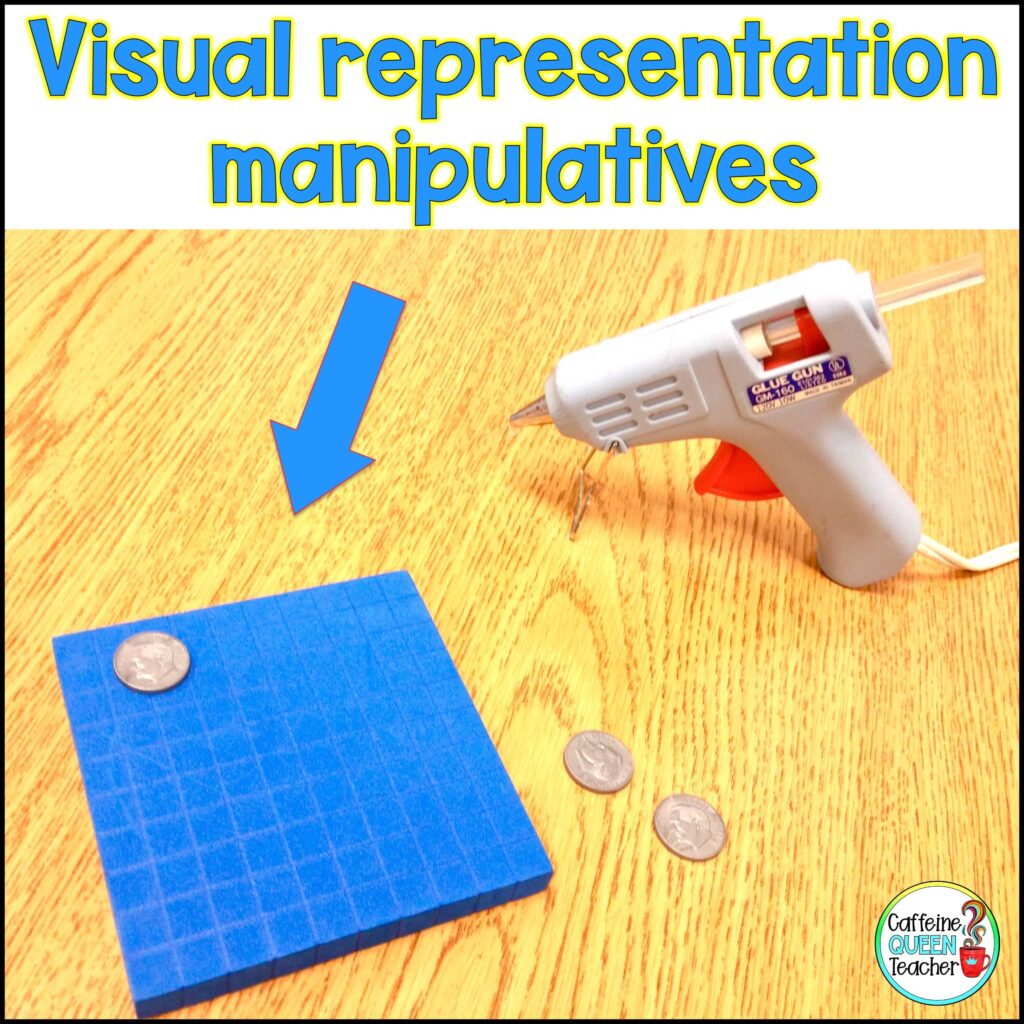
One unique approach is to relate money to base ten blocks, which students are already familiar with.

By attaching plastic coins to the base ten blocks using a glue gun, students can visualize how the coins relate to each other and to numbers in general.
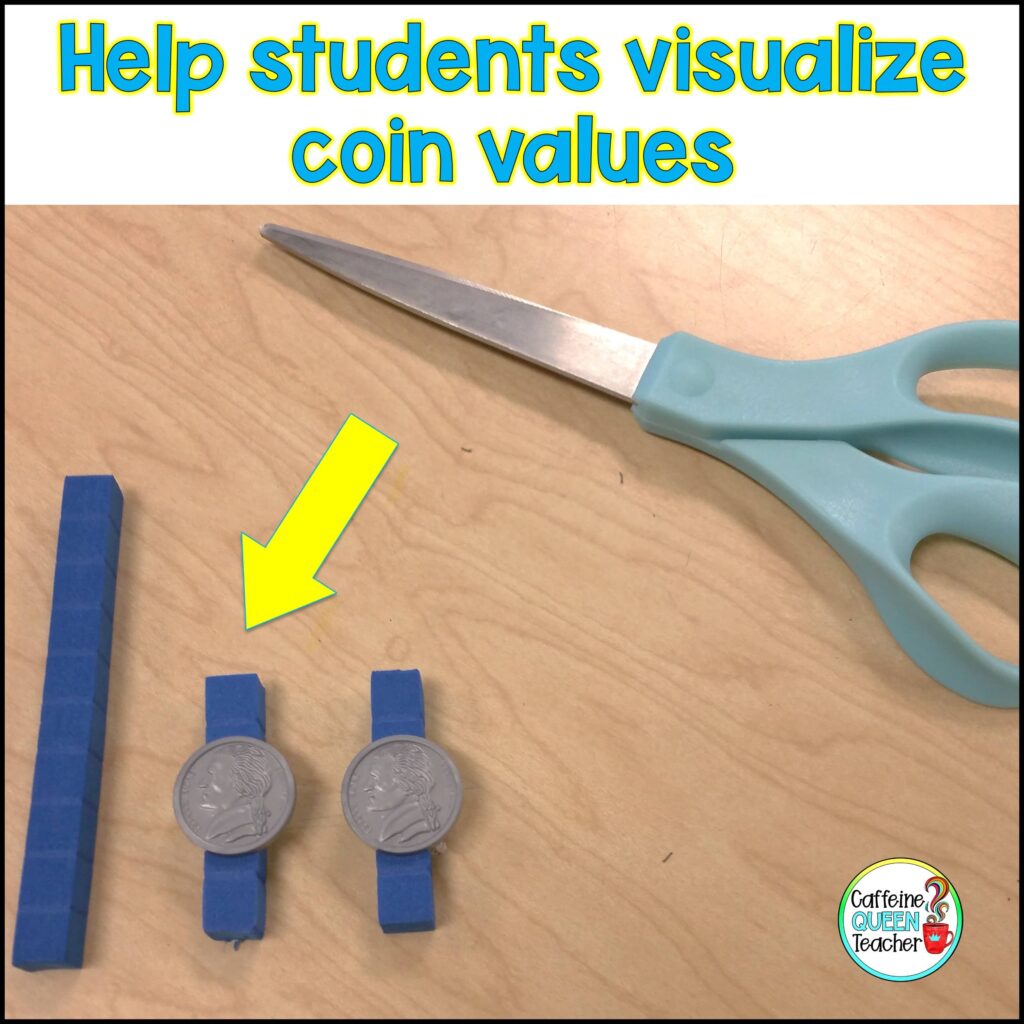
For an even better representation, try cutting a base ten rod into five units.
Coin Identification – Early Stage
Coin Sorting –
Before jumping into counting coins, students need to be able to identify them. Some students struggle with differentiating between a nickel and a quarter, so explicit instruction is crucial.
Point out that quarters are the largest coins with ridges along the edge. Nickels are smaller and have smooth edges.
Reviewing the images on the coins may also be necessary for struggling students. Keep in mind that newer styles of nickels and quarters feature different images compared to older coins. Quarters now feature different state images on the back, which might cause problems for students because the quarters look different.
Most students will benefit from working with real money to solidify their learning. Students often have trouble transferring their learning from plastic classroom coins to real coins. Providing them with real, authentic coins can make a big difference.
*Please note that Kennedy half dollars are larger, but I typically introduced them at a later stage since they’re not commonly used in everyday life. Don’t worry about half dollars until your students are fluent in money skills.
Grab a set of FREE coin sorting mats – click on the image below!

Deciding between real money and toy money can make a big difference in your students’ learning. Some students struggle to understand or relate to plastic money because it doesn’t feel, look, or weigh the same as real money.
However, other students can’t tell the difference between plastic money and real money. I’ve had students steal my plastic money, planning to spend it at Walmart.
You can have your students make coin rubbings as a fun, engaging activity. Simply place a coin under a piece of paper and gently rub a crayon over it to create a picture on the paper. I liked having students use different colors for the coins, but that’s optional.

Helpful Tip: Some students might find it challenging to keep their coins in place if they haven’t developed good fine motor skills.
As we studied the rubbings, we took special notice of the different sizes and faces of the images on the coins.
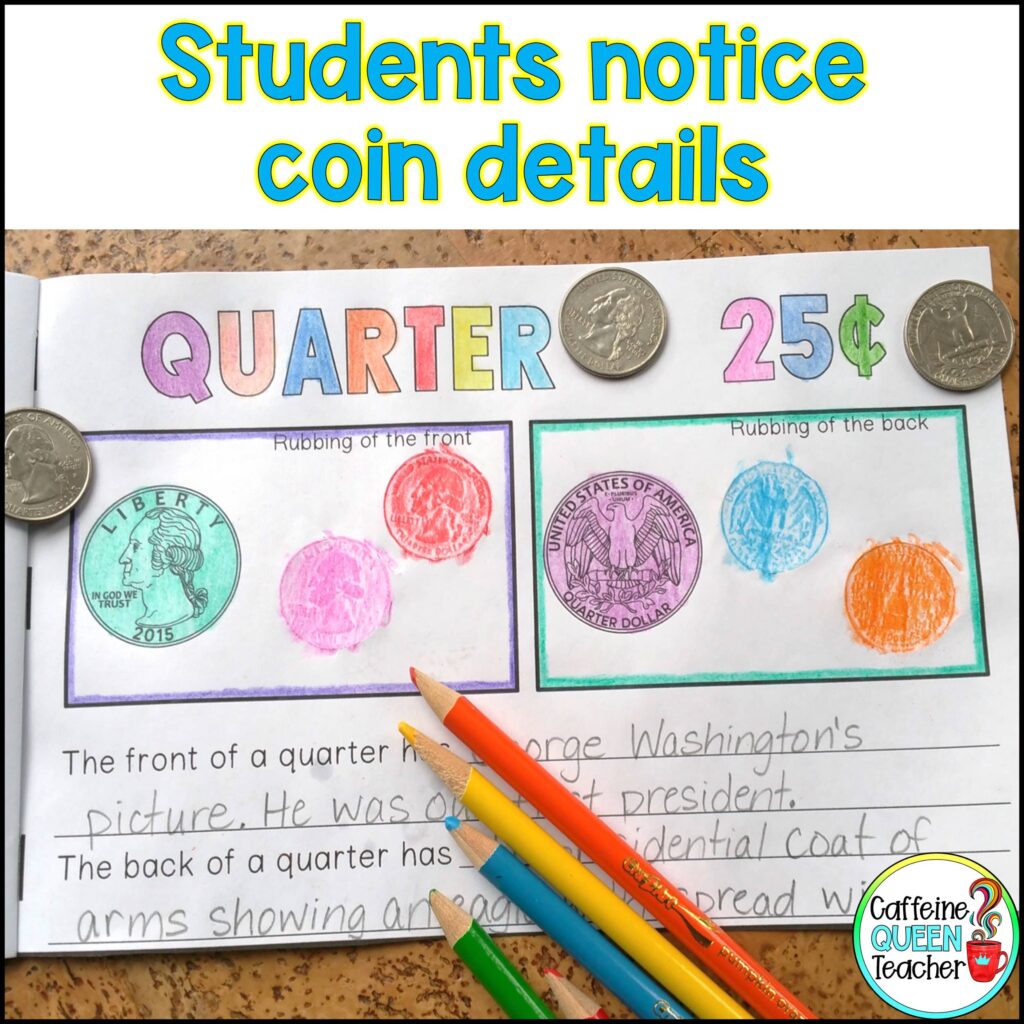
You can grab this coin-rubbing booklet at my Teachers Pay Teachers store (click here). It’s super easy to make and interactive for students.
Click here to view all of the money resources in my store.

I hope you’ve found some ideas and strategies for teaching money skills.
Click here to continue reading Part 2 of the Teaching Basic Money Skills Blog Series for the next steps and even more ideas and strategies.
Remember to pin your favorite picture so you can find this article later.
About the Author
Written by Jules Rhee, MEd, and a 30-year teaching veteran; published 5/1/2017; latest update 8/9/2023
Jules is the creator of Caffeine Queen Teacher (CQT) – Visual Math Organizers + Graph Paper Support. She’s a veteran teacher with over 30 years of classroom experience (SPED, upper elementary, and middle school) and a Master’s in Education (MEd). Jules shares practical, classroom-tested ideas and creates step-by-step resources that help students stay organized, confident, and successful – especially with multiplication and long division.
Read more about Jules here: About Page | Browse resources here: TpT Store