


By Jules Rhee, MEd | Latest update 7/16/2024
Here’s a quick tutorial on converting PDFs to digital resources for distance learning and learning management systems (LMS) and how to upload a single page from a PDF document into Google Slides and Google Classroom for students to use.
Online teaching and using digital resources for our students was thrust on us without warning during the COVID-19 pandemic.
I had so many questions, and it seemed like everyone else had it all figured out.
If that’s how you’re feeling, I’m here to help!

Thankfully, I learned that uploading a couple of pages from a PDF document to Google Classroom or to another online site is actually pretty simple.
You need to digitize your teaching resources to get resources into your students’ hands. That means the worksheet/PDF needs to be converted to a digital form that computers can recognize.
After digitizing the resource, it can be assigned to students using Google Classroom or another online secured learning management system. Systems are secured when students are logged into their own accounts by requiring a class code or password, or the site is password protected.
What on earth is a PDF?
A PDF is a Portable Document Format.
A PDF ensures that when you open that PDF document on any device, it will look the way the author intended for it to look. The fonts and images will be consistent on a Mac, PC, iPad, etc., regardless of the type of device.
Most Teachers Pay Teachers resources are PDFs because the resource’s creator designed them to look a certain way. What you see on the screen is typically what is printed out (unless the printer settings are adjusted).
Convert your PDF to an image for Google Slides:
There are three ways to convert your PDF into a digital image that can be imported to Google Slides.
1) Screenshots – Snipping Tool
The most basic way to convert a PDF document to a digital format is to take screenshots and import them into a Google Slide.
On a Mac: click Command + Shift + 4 keys at the same time.
Then use your mouse to place the crosshair where you want to start your screenshot. Drag it over the area you want to be included. When you release the keys, you’ll take a screenshot.
On a PC: try selecting the PrtScn button, which means “Print Screen.” You can also try pressing the keys ALT + PrtScn.
The snipping tool can also be used to take a screenshot of a PDF page or a portion on a PDF page. To use the snipping tool on a PC, click on the start menu and type snipping tool in the search box.
When it opens, click on Mode in the dropdown menu. Choose the type of snip you want to use. Once you capture the area of your document you want to save, you’ll choose where you want to save it. From there, you can upload it to Google Slides.
2) Notes App
The Notes App on your phone can be used as a scanner!
Simply open the Notes app and click on the camera. Save your image to a file location that you choose.

3) For Large Files – Try This!
For large files, it’s too much hassle to take screenshots of every individual page. Instead, go to pdftoimage.com. Just drag and drop your PDF file into the grayish-colored box, and it will convert the file into jpeg images.
I’ll warn you, all the ads are really confusing and the first time I used it, I clicked on what I thought was the PDFtoimage.com’s start button, only to find out I had clicked an advertisement. YOU DON’T HAVE TO CLICK ON ANYTHING OR DOWNLOAD ANYTHING FOR THIS WEBSITE.
Check out the image below to see where to drop your files. Do NOT click that “Start” button – it’s an ad.


The above image shows the zip file of jpeg images ready to download. Click on it, and your file will appear in your Downloads folder.
When you open the folder, you’ll find the jpegs available and ready to be turned into Google Slides. You can just delete any jpegs you don’t want to use.

2-Digit Addition Mazes at Teachers Pay Teachers
Making Google Slides
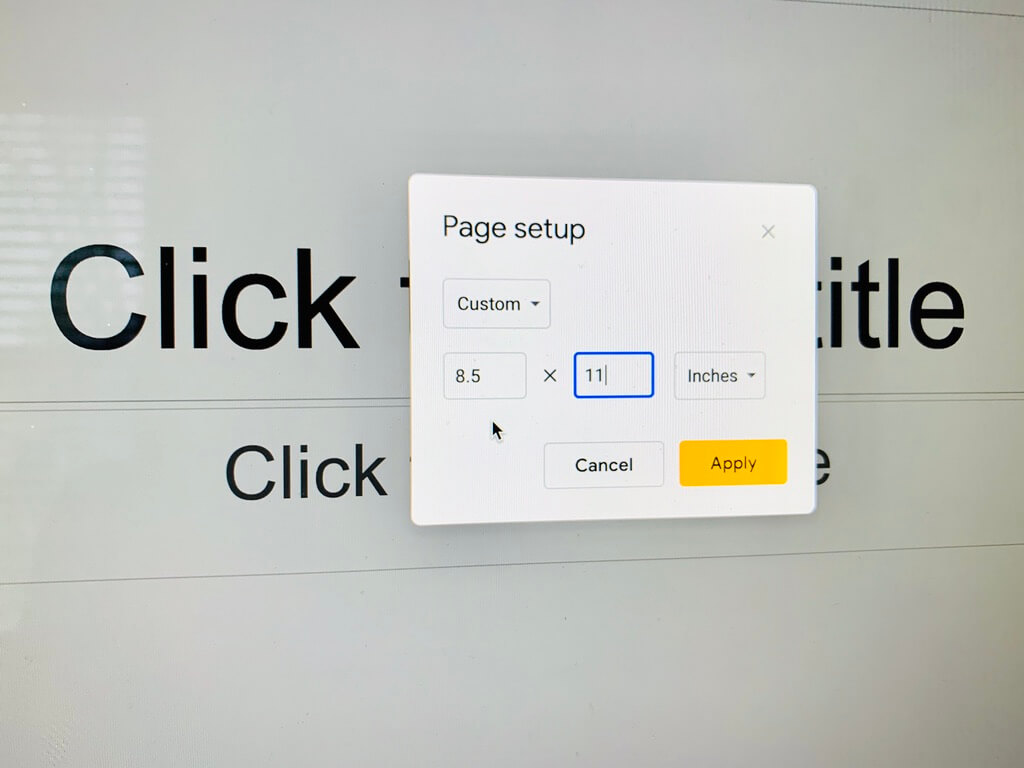
After creating these images, the next step is to make a Google slide with the dimensions of a piece of paper (8 1/2″ x 11″). These images were taken on a Mac, so they might look somewhat different on a PC.
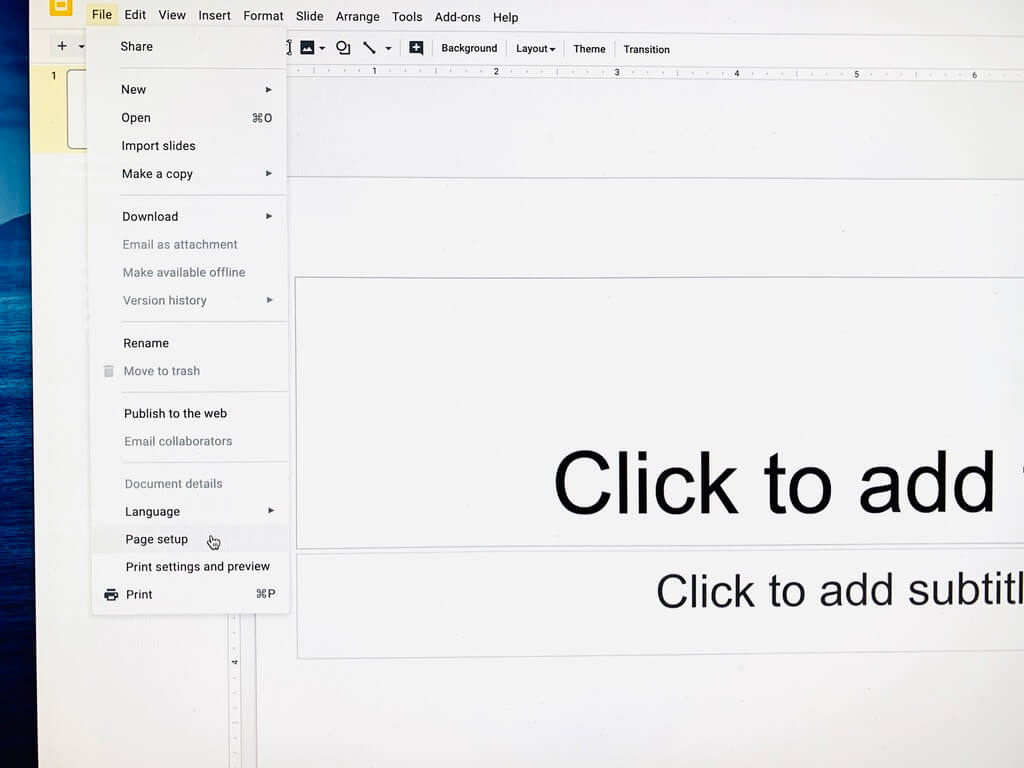
Go to File > Page Setup. Choose the size you need.
Insert the image as a background by clicking on Background > clicking on Choose Image > then dragging one of the jpeg images into the upload area. Click Done. This will set the background. You can test it by clicking on it. If it does not move, it’s set correctly as a background.
Once you’ve set the background, you can add text boxes on the slides, which allows students to type their answers directly onto the slide.

For some of my worksheets, I had to add solid, white boxes to cover the writing lines that are commonly found on worksheets. Then I placed the text boxes on top of the solid, white boxes.

Once the document page is uploaded to Google Slides and the text boxes are in place, you’re ready to send it to students. Most teachers are using Google Classroom.
*If the document you created is taken from a copyrighted resource, like those on Teachers Pay Teachers, make sure you have permission to upload it. In general, most sellers on Teachers Pay Teachers allow their resources to be uploaded to a secure, password-protected site that is not accessible to the general public.
REMEMBER – Systems are secured when students are logged into their own accounts by requiring a class code or password or when the site is password protected.
To learn how to create assignments in Google Classroom, check out this article.

More about converting resources to digital and using Google
Step-By-Step: How to Assign Just One or Two Slides in Google Classroom
How to Assign Student Work with Google Classroom
Grab the FREE Printable Guide:

Try Kami (FREE) for Learning Management Systems:
Here’s a FREE tutorial about using the platform called Kami.
Shop the resources in this article

Check out the 2-Digit Addition Mazes at Teachers Pay Teachers.
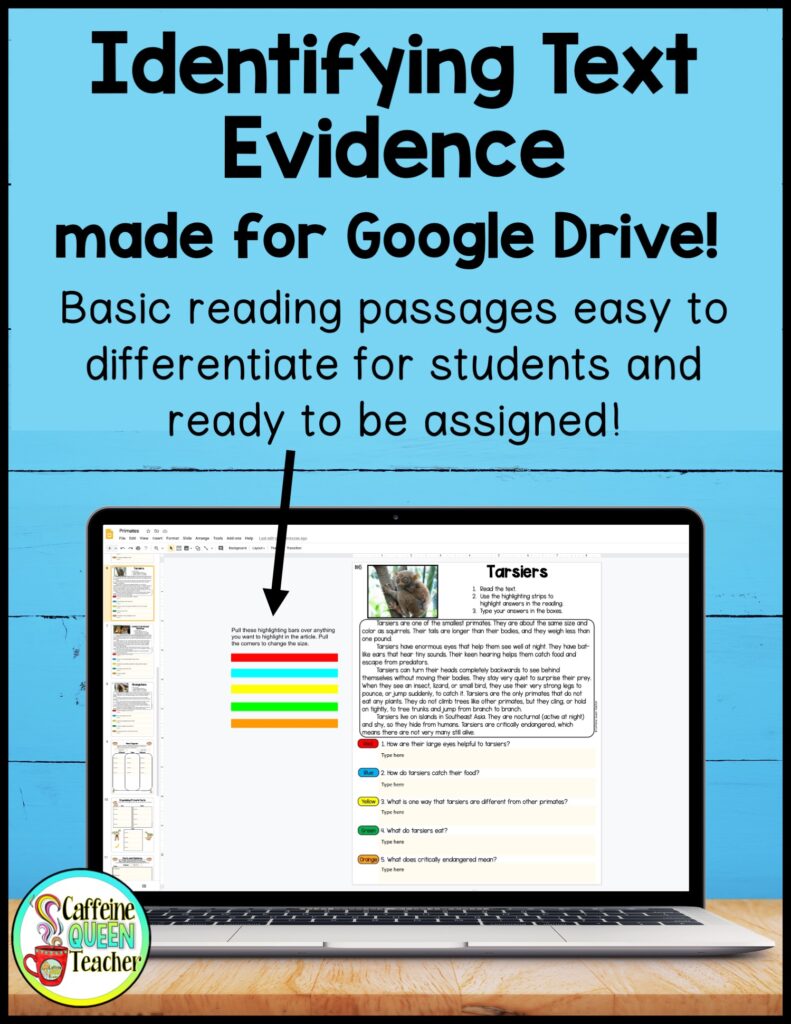
Visit Teachers Pay Teachers to learn more about these digital and printable reading comprehension passages focusing on identifying text evidence.
If you found this article helpful, please follow me on Teachers Pay Teachers, Pinterest, Facebook, and Instagram. I post educational content that can help you in your own classroom.
Thank you for being a part of the Caffeine Queen Teacher community! Your support means a lot to me. Together, we can make learning fun and interesting!
About the Author
Written by Jules Rhee, MEd, and a 30-year teaching veteran; published 3/29/2020; latest update 7/16/2024.
Jules is the creator of Caffeine Queen Teacher (CQT) – Visual Math Organizers + Graph Paper Support. She’s a veteran teacher with over 30 years of classroom experience (SPED, upper elementary, and middle school) and a Master’s in Education (MEd). Jules shares practical, classroom-tested ideas and creates step-by-step resources that help students stay organized, confident, and successful – especially with multiplication and long division.
Read more about Jules here: About Page | Browse resources here: TpT Store
