You’ll love this ultimate graphic organizer for plotting your narratives – the Plot Diagram. Whether you call it Story Mountain, Plot Arc, or Plot Diagram, it’s an essential tool that you won’t want to teach without.

How I Use My Plot Diagram Wall Reference
Have you ever had a story discussion where your students beg, “Can we just keep reading the story?” That’s a clear sign that you’re interrupting the story flow. When that happens, comprehension and enjoyment go out the window.
When it comes to introducing a new story in the classroom, it’s important just to read it and let the words flow freely. By resisting the urge to interrupt with excessive teaching and questioning, you allow your students to engage themselves in the author’s world truly. Let students experience the author’s flow and pace.
After the First Reading – Deep Dive
After the first reading, allow students a chance to turn and talk with their classmates for initial reactions.
After giving students a few minutes to verbalize their thinking, you can finally ask all those burning, teacher-type questions you’ve been holding in.
At this point, you can begin to really dig into the story. Now is the time to really analyze the characters, setting, and how the plot unfolds.
One key point I try to express to my students is that reading stories and writing stories are closely tied together. It’s worth pointing out that as we read a story, we’re reading someone else’s writing. And from that writing, we can learn valuable lessons about that author’s organization, style, and craft.
Next is where the plot diagram comes in.
Decoding the Story Elements
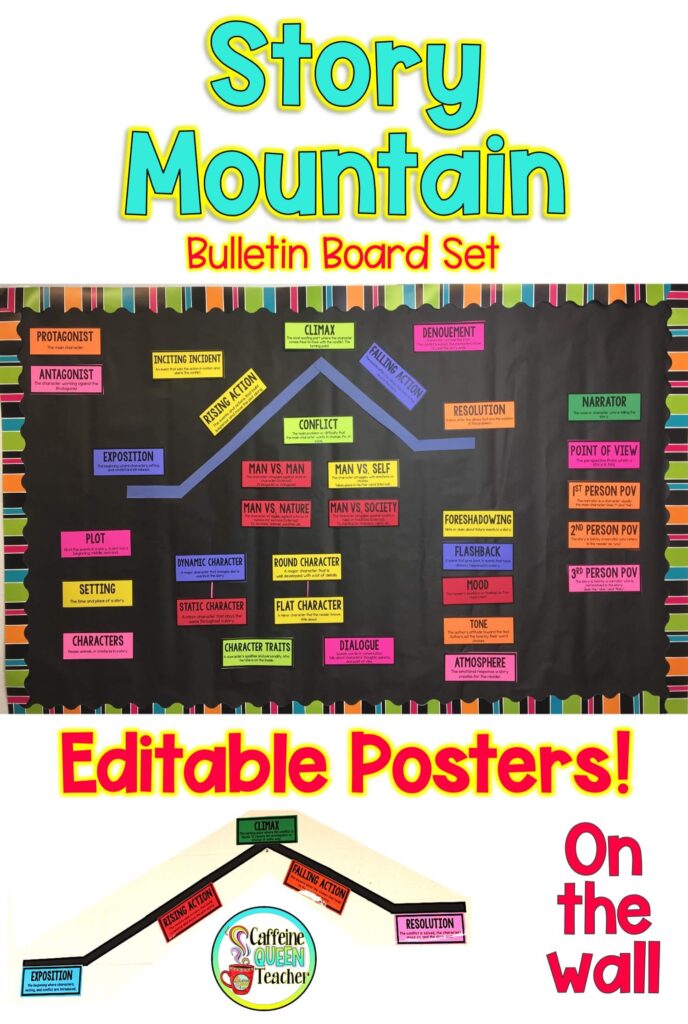
Story Mountain provides a great visual for the sequence of events known as the plot.
With the plot diagram on your wall or bulletin board, students can actually see the linear path that a story follows from beginning to end. I always point out that most stories follow a very similar organizational arc, regardless of the type of story.
A typical plot diagram has five main elements.
1. Exposition: Unveiling Essential Background
We learn about characters, settings, and crucial background information that lays the foundation for the entire story.
2. Rising Action: Unleashing Conflict
We really dig into the story as the central conflict is triggered by an exciting “inciting incident.” We teach students to brace themselves for complications as the main character journeys toward the climax.
3. Climax: A Point of No Return
The climax is where the character’s life or circumstances change forever. It’s the critical point where all the action, tension, and conflict come together, and it’s often intense for the character. Readers feel excitement, concern, and tension.
4. Falling Action: Confronting Consequences
During the falling action, the character must adapt and deal with their decisions and the changes in their life from the conflict. It includes the events that happen after the climax and before the story comes to an end.
5. Resolution: The Final Chapter
The resolution is where loose ends are tied up, and we learn how the story ends. It often includes hints or a description of how the character’s life has been transformed.
Expand the Literary Toolbox with More Literary Terms
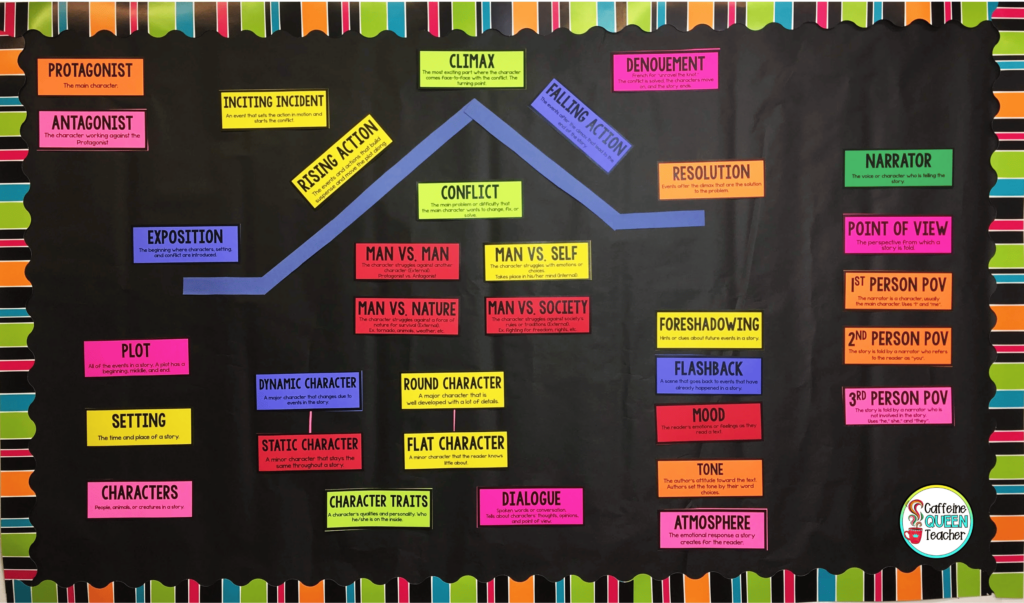
Additional literary terms are included that can be used to enhance your bulletin board. There are over 40 additional terms to choose from.
Additional terms include types of conflict, character types (protagonist, antagonist, dynamic character, static character, round character, etc.), foreshadowing, flashback, points of view, mood, theme, and more.
Plus, the set includes EDITABLE term cards so you can customize your bulletin board to suit your lessons, grade level, and students’ needs.
To make the actual line for the plot mountain, I simply used construction paper to make a simple line. You can add peaks and valleys to your line to show complications if you choose.
It’s perfect on your classroom wall or on a bulletin board. I’m currently using it on my classroom wall – taking up most of the wall! I’ve also used the small size with magnets on the back for magnetic dry-erase boards, and I’ve used it on a bulletin board in my previous classroom.
As your class is reading a novel, you can use an arrow or a picture (maybe one that looks like your story character) and staple or tape it onto the plot diagram. Sticky notes work well, also. Your students will love to see their progress through the story.
Once students understand the plot of the story and the central ideas, you can ask other types of questions focusing on the author’s word choice, descriptions, purpose, and theme.


