


By Jules Rhee, MEd | Latest update 4/14/24
Making a comb-bound teacher planner for your lesson plans, grade book, and other essential teacher forms is easy and kind of fun!

I’ve always seen binding machines at the schools where I’ve taught, but I’d never used one before. It seemed intimidating, and who has time to deal with the learning curve?
Maybe your school’s machine sits in the corner of your teacher’s workroom and gathers dust, or maybe it’s been shoved in a closet.
Dig it out and dust it off!

I was surprised to discover that the coil binding machine is really EASY to use. Now that I know how to use it, I will absolutely make my own customized teacher planner/teacher binder every year for as long as I teach.
What is comb or coil binding?

Comb/coil binding can turn a pile of papers and lesson plan pages into a book! It’s a way of using plastic binding to secure the pages, making a book.
Comb binding is great because even if you make a mistake – you can open the binding back up and fix it! (Um, more on that below!)
Here are just a few great features of a bound Teacher Planner:
- You can customize it to suit your needs
- You can choose a cute or functional cover to suit your tastes
- You can add your school calendar and other important pages
- You can arrange the contents in the order you prefer
- You can add more pages or take out any you don’t need
- You can bend it backward for easy writing
Best of all, if you make a mistake, it’s not the end of the world. Just make some new copies and start again.
Teacher Planner pages to include:
You’ll probably want to include:
- lesson plan pages (you can customize these with your own teaching schedule)
- grade book pages
- your school schedule
- passwords
- school calendar
- seating charts
- rosters
- substitute teacher notes
- Anything else important to your school day
Some teachers, like me prefer to keep their lesson plans and grade book together, while others prefer two different, separate booklets.
I like having everything I need for class and grading in one place, so I decided to combine the two. I do understand why teachers may want two separate booklets. They can leave the lesson plan portion at school for subs in case they get sick and take the grade book portion home for easy recording of students’ grades.
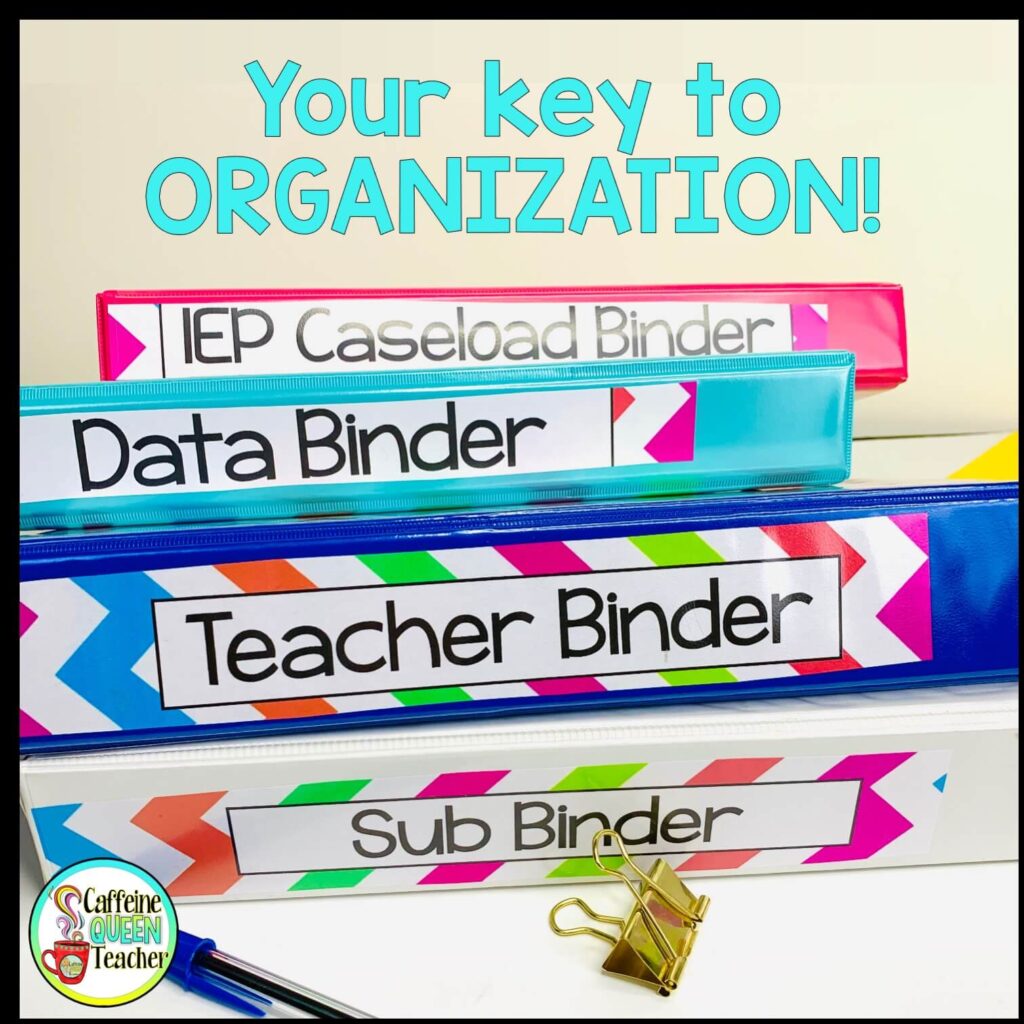
You might also prefer to organize your papers into separate binders for small groups, substitute teachers, special education, student data, etc. It’s really a matter of choice.
How to MAKE the coil-bound planner
You need just a few things to start:
- Printed copies of the pages to include
- Thick covers for planner durability
- Comb binding
- Binding machine
- Optional: clear plastic cover sheet
Remember – you’ll be lugging this around every single day – it MUST be durable!

First, figure out which pages you want to include in your teacher planner. Put them in order and hole-punch them.
I made two big mistakes at this step.
My first mistake was not pushing the paper all the way into the machine before punching holes. You can see from the image below that the holes were too close to the edge of the papers.

My second mistake was not double and triple-checking the order of my pages.
I had my binder completely put together before I took the time to really look hard at it and then realized the pages were out of order. See the photo below.
Fortunately, with coil comb binding, you can simply open the comb, replace the pages, and close the coil binding again.

After hole-punching all of your pages, hole-punch whatever you plan to use for a cover.

I ordered some covers from Amazon. I wanted them thick and durable enough to last the entire school year without bending or being torn off.
After a bit of research, I settled on a thick black vinyl cover. My cover choice is pictured below. CLICK HERE for the Amazon link. I also wanted a transparent sheet for the top of my planner so I could use an attractive printed picture that I would enjoy looking at during the school year. CLICK HERE for the Amazon link.
You might consider using a report cover that you can pick up at Target or Walmart for a less expensive option. Most report covers have a clear cover with a thicker plastic cover in the back.
Disclaimer: I added the cover links above for your reference only. I am NOT an affiliate for Amazon OR for these products. There are many other options that will work just as well.


After inserting the coil, pull the small lever towards you to open the coil. See the photo below.
The coil should be open just enough to insert the pages.

After you insert the pages onto the curled combs, be sure to check that you didn’t miss any holes.
I found that it was easier to insert smaller piles (fewer pages) of paper at a time. Double-check that you inserted the pages correctly before adding each new set of papers.

As you add pages, you may have to adjust how wide/narrow the coil is opened. I had so many pages I was running out of room on the coil to add them.
I’m not sure of my total page count, but I probably had a few more than the suggested 85-page limit for my 1/2-inch coil. Hopefully, it holds up!
Don’t worry – I’ll be sure to report back if it doesn’t!
Add the front cover last.
The final step is to close the comb coil by pushing the small lever away from you. Then simply lift your Teacher planner off the binding machine.
YOUR PLANNER IS FINISHED!
Celebrate your gorgeous teacher planner!

Before you celebrate too much, double-check that you put it together correctly.
I had everything put away and was bragging about my accomplishment before noticing that my pages were out of order. (Blushing.)
If you need to adjust the pages, carefully put your planner back on the binding machine and gently open the comb coil. Make your adjustments, and close it back up.
Where can I get a teacher planner?

You can grab the huge BUNDLE here. You’ll receive all the teacher binder paperwork and forms you need to run an organized, efficient classroom all together in one set.
You’ll love having these reference forms at your fingertips organized into binders.
Want to learn more about setting up a functional binder system?
Click HERE to read a step-by-step plan to organize your teacher binder system.
About the Author
Written by Jules Rhee, MEd, and a 30-year teaching veteran; published 8/16/2020; latest update 4/14/2024.
Jules is the creator of Caffeine Queen Teacher (CQT) – Visual Math Organizers + Graph Paper Support. She’s a veteran teacher with over 30 years of classroom experience (SPED, upper elementary, and middle school) and a Master’s in Education (MEd). Jules shares practical, classroom-tested ideas and creates step-by-step resources that help students stay organized, confident, and successful – especially with multiplication and long division.
Read more about Jules here: About Page | Browse resources here: TpT Store
