


By Jules Rhee, MEd | Latest update 3/2/26
If you’ve got students who lose their place while reading (or reread the same line 4 times and then look at you like the page moved)… this little DIY hack helps a ton.
It’s a simple, easy-to-make reading guide that supports visual tracking – and it’s one of my favorite “teacher tools” because it’s:
- quick
- cheap
- actually useful
- and not one more complicated system to manage
My students used these almost every single day. It’s one of those low-effort supports that quietly makes reading smoother.

Why tracking is hard for some students
A lot of students struggle with tracking – meaning their eyes don’t smoothly move left to right across the page.
Our eyes naturally want to bounce around. (Thanks, survival instincts.)
But when a student’s eye movement is erratic, reading can feel like a frustrating scavenger hunt:
“Where was I?”
“Which line?”
“Did I already read that?”
“Wait… what is happening?”
A simple tracking tool helps students focus on smaller chunks of text at a time, which can improve:
- confidence
- accuracy
- fluency
- comprehension
The “free” strategy first: use a finger
Before you make anything, it’s worth trying the easiest support of all:
⮕ Have students track with their finger.
No tools, no prep, no supplies.
For some kids, that’s enough.
But if it’s not (and you know the ones), a reading guide is a great next step.
The problem with store-bought reading strips
You’ve probably seen those highlighted reading guide strips on Amazon. They can be helpful… but in a classroom, they tend to have a short life expectancy.
In my experience, they:
- disappear
- get bent and wrinkled
- get chewed up in backpacks and desk cubbies
- start peeling apart
And of course… no one ever took them. They just vanished into the same dimension as missing pencils. 😅
So I stopped spending my money and made my own.
DIY reading guide hack (cheap + sturdy)
What you need
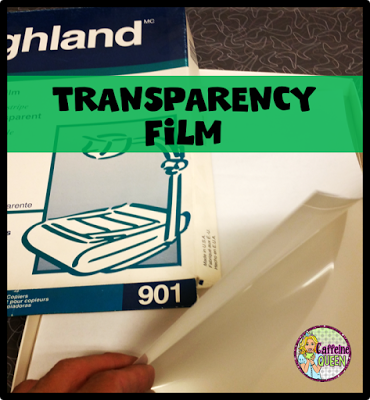
- transparency film (the kind you can run through a copier works great)
- scissors (or a paper cutter if you’re feeling fancy)
- permanent marker
- ruler (optional, but helpful)
Step 1: Cut the transparency film
Cut each sheet into smaller strips.
I usually cut mine into 4 equal pieces, but you can adjust the size depending on your students and the books you use.
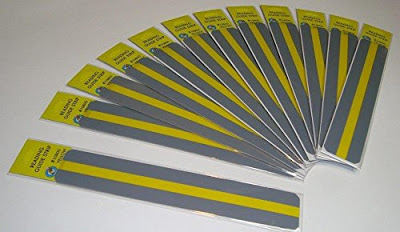
Step 2: Draw a straight guide line
Use a permanent marker to draw one straight line across the strip.
That’s it.
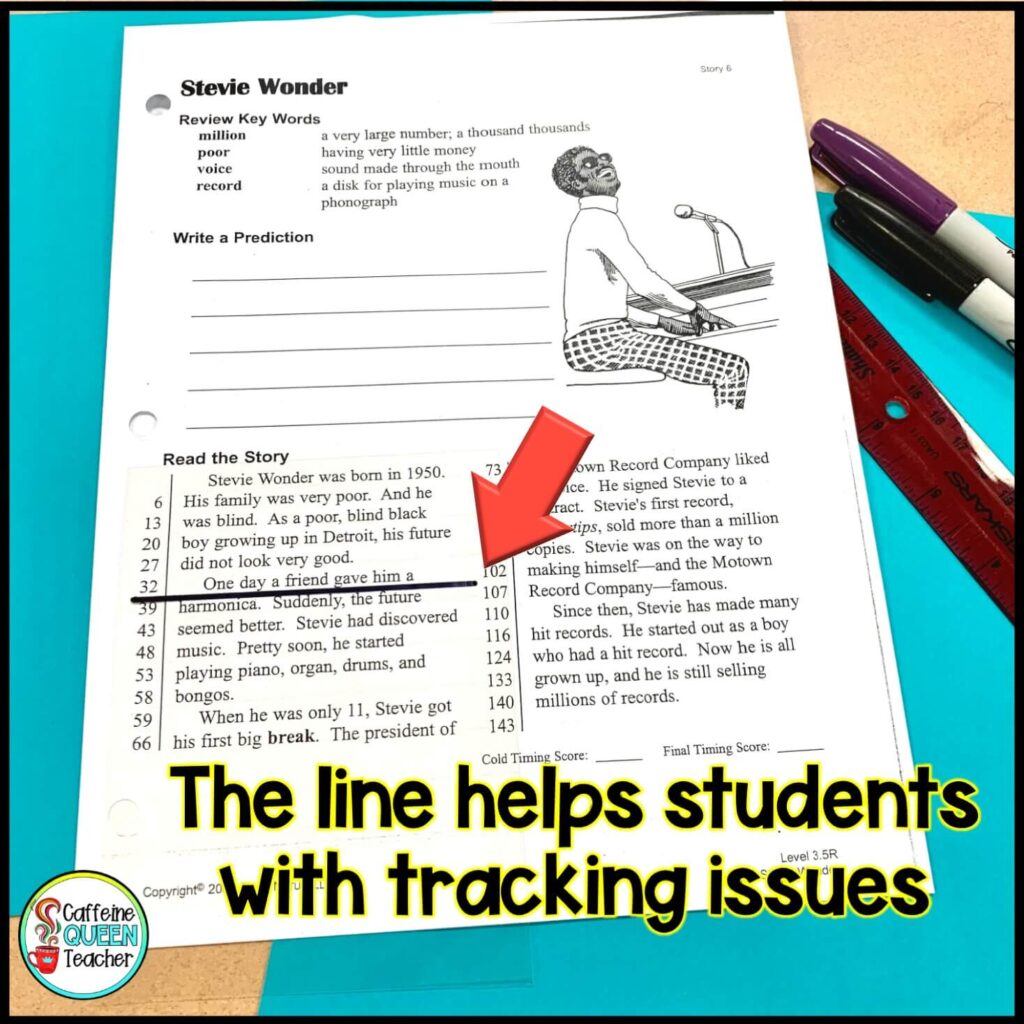
Students place the strip under the line they’re reading, and it helps their eyes stay anchored while they move across the page.

Optional tweak: try landscape orientation
Sometimes I turn the film long-ways (landscape orientation) and draw the line that way.
That works better for books with wider pages or passages with longer lines.
Why this works so well
This guide gives students a simple visual boundary.
Instead of their eyes trying to manage the whole page at once, they can focus on one line at a time.
It’s small, but it makes reading feel more manageable – especially for students who get overwhelmed or fatigued quickly.
And bonus: if one disappears, you’re not stressed. You can make five more in two minutes.
Sometimes I turn the transparency film long-ways (landscape orientation) and draw the lines on that way. That seems to work out better for some books that have wide pages.

I’ve also used a yellow Sharpie to add a “highlighted” strip above the line – some students prefer that extra visual support.
About the Author
Written by Jules Rhee, MEd, and a 30-year teaching veteran; published 8/10/2016; latest update 3/2/2026
Jules is the creator of Caffeine Queen Teacher (CQT) – Visual Math Organizers + Graph Paper Support. She’s a veteran teacher with over 30 years of classroom experience (SPED, upper elementary, and middle school) and a Master’s in Education (MEd). Jules shares practical, classroom-tested ideas and creates step-by-step resources that help students stay organized, confident, and successful – especially with multiplication and long division.
Read more about Jules here: About Page | Browse resources here: TpT Store