


By Jules Rhee, MEd | Latest update 6/10/2025
Get your classroom ready fast with these 11 back-to-school tips for teachers. Includes a free classroom setup checklist to help you stay organized and save time.
Have you ever felt that shock of emotion when you spot the Back-to-School aisle at the store? One minute you’re reaching for sunscreen, the next you’re counting the days left of your summer.
Whether it sparks excitement or mild panic, now’s the time to trade the overwhelm for a plan that actually works.
Because here’s the truth: nothing beats the feeling of being ready. A little early prep and a well-organized classroom go a long way.
So let’s get ahead of the chaos—before it starts.

TRUTH BOMB: I’ve wasted so much time prepping.
So I finally made a list to help me get focused – and figured you might want in on it too.
Stick around to the end of this post to grab your FREE No-Stress Back-to-School Checklist!
Now let’s talk strategy.
1. Sketch a Quick Diagram
Before moving a single desk, take a few minutes to map it out.
Think through your key zones – teacher workspace, small group areas, student desks, classroom library, and tech stations.
Don’t forget the big stuff: shelves, carts, filing cabinets.
Bonus tip? Place rolling carts or smaller shelves between workspaces so materials are always within reach (and you’re not running laps mid-lesson).
2. Clean and Dust (I Know… Ugh)
It’s not glamorous, but this is the easiest time to knock it out before the real setup begins.
Dust the shelves, wipe the counters, and hit the nooks no one sees – because once everything’s in place, you won’t want to move it again.
Future you will be thankful.
3. Arrange the Big Furniture First
Tackle the largest items before anything else.
Start with your teacher desk, filing cabinets, shelves, student desks, and small group table. Once those anchors are in place, everything else tends to fall in line.
Just don’t throw your back out trying to move a five-drawer cabinet solo – ask for help when you need it.
At my school, my desk had to live near the outlet jungle, so power access always dictated placement. If you’re tied to cords or wall jacks, plan around them early.
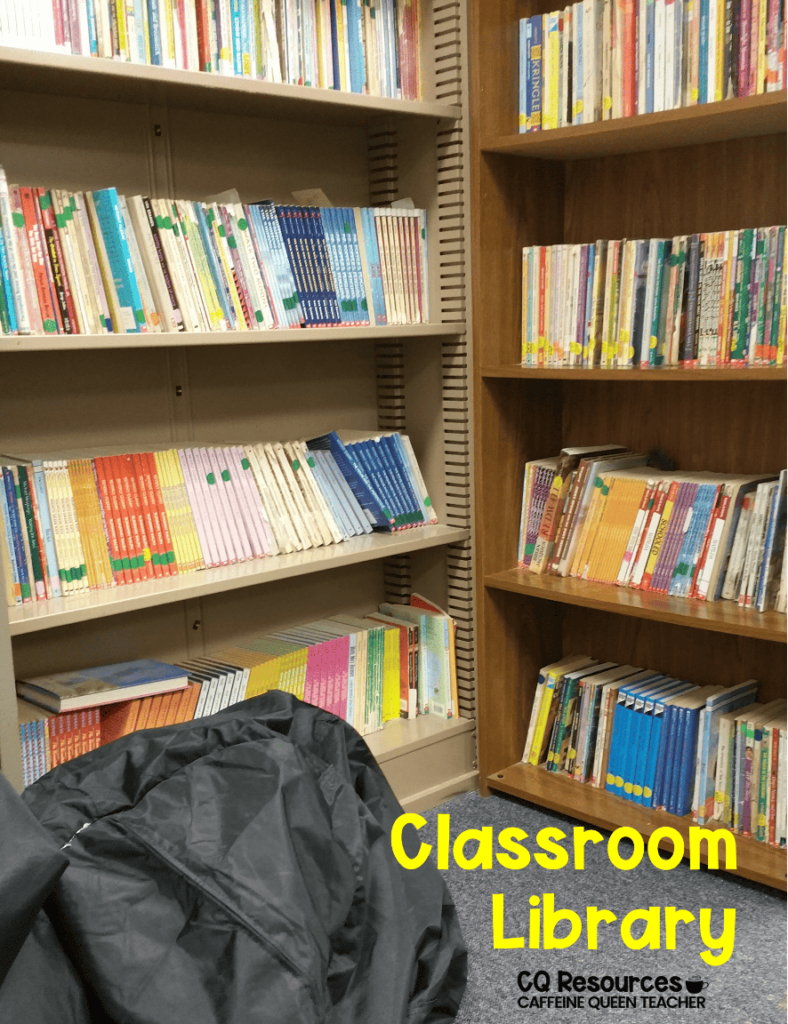
4. Tackle the Classroom Library
Next on the list – the classroom library.
Start by sorting through those books. Sigh. We all know this is probably the only time they’ll actually stay organized.
If your shelves are large like mine, they’ll likely be the next thing to arrange. At my school, we had to box up all the books over the summer if the shelves were movable – which meant extra time unpacking once we were back.
One of my goals was always to carve out a cozy corner – something warm and inviting that made kids actually want to read.
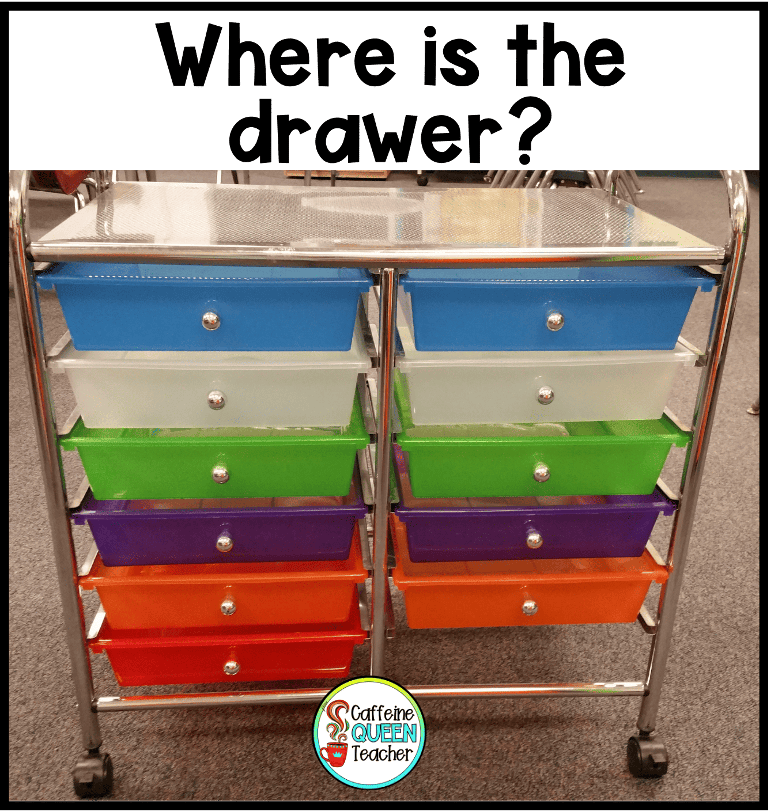
5. Bring Out the Carts
Let’s talk carts. In my opinion, the more colorful, the better!
A few years ago, I inherited a cart with a missing drawer. Not ideal, but I put it to work. I used it to store supplies for small group activities and for organizing lesson plans Monday through Friday.
The only real problem? Floor space. Between shelves and rolling carts, things can get crowded fast.
Bigger carts need a designated spot. I usually parked mine between my teacher desk and small group table – easy to reach from both sides, without being in the way.
6. Bulletin boards
Okay – confession time. I usually kept the same bulletin boards up all year. (No judgment zone, right?)
I did change up the hallway board with the seasons or holidays, but the ones inside my classroom? Those were prime real estate.
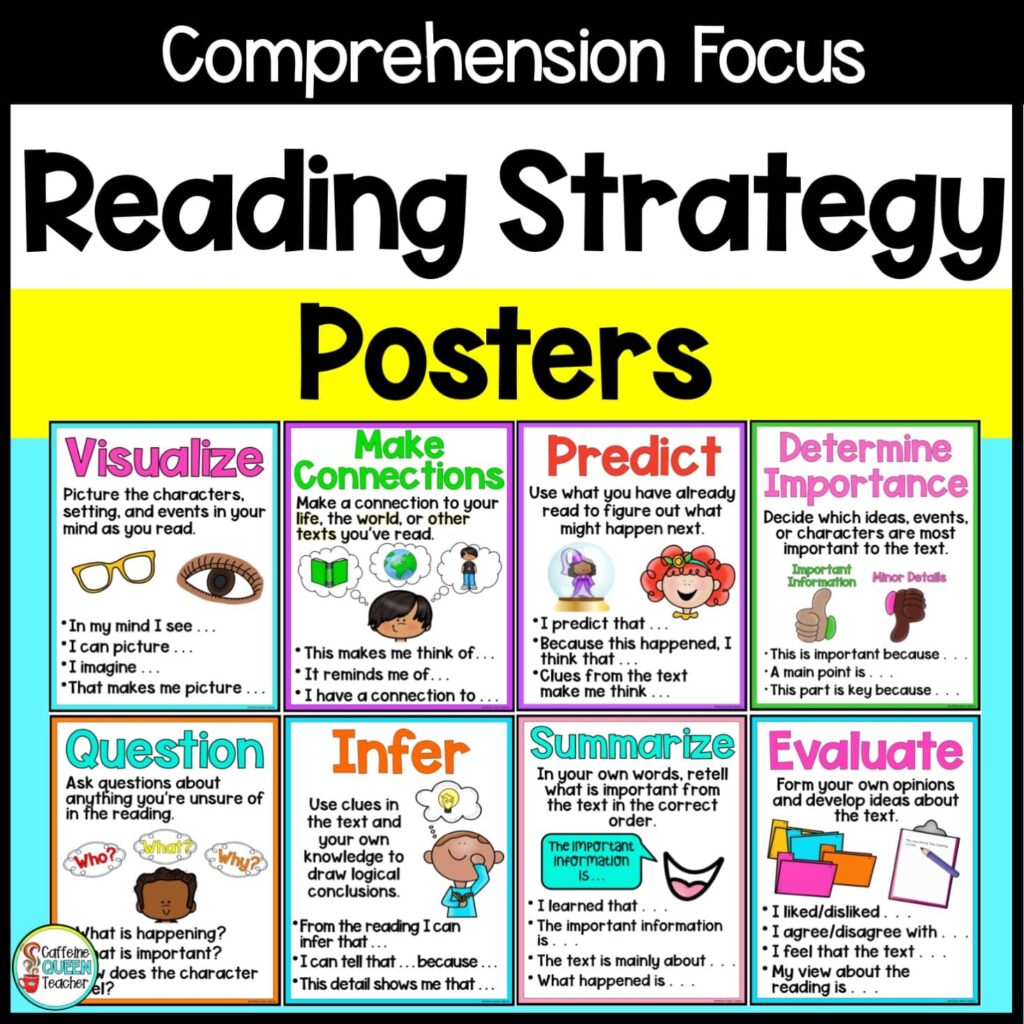
I used them for things that mattered – student work, reference posters, anchor charts, and anything that actually helped kids during lessons.
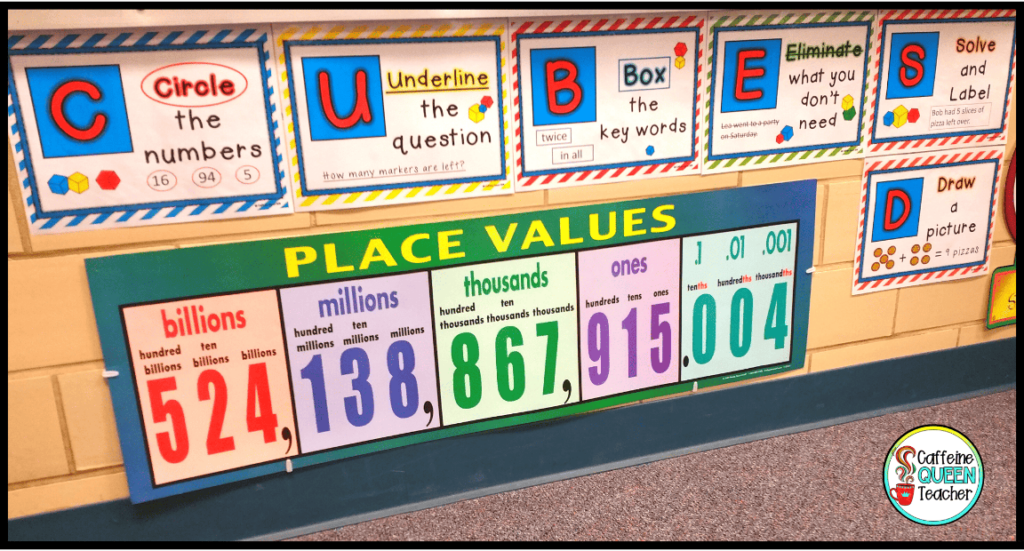
One mistake I made early on?
Hanging my CUBES/CUBED math strategy posters below the whiteboard. Looked great – until I realized the kids in the back couldn’t see a thing.
I moved them above the whiteboard the next day. They stayed there every year after.
If you teach upper-grade ELA, you’ll love this bulletin board display featuring a plot diagram for story elements. The editable cards come in two sizes and can stretch across the back wall of your classroom.
We referred to it often during class discussions, and even after students “graduated” from my classroom, they still mentioned how helpful it was.
And I’ll be honest – I loved how much attention it got from other teachers and parents. Anytime someone walked into the room, that board was usually the first thing they noticed.
You’ll want to click the image or CLICK HERE to check it out at my Teachers Pay Teachers store.

7. The Teacher Desk. Ugh.
No matter how much progress I make, it never feels like the room is truly ready until the teacher desk is organized.
In the past, I’ve wasted way too much time digging through drawers – looking for tape, a stapler, anything to finish the job.
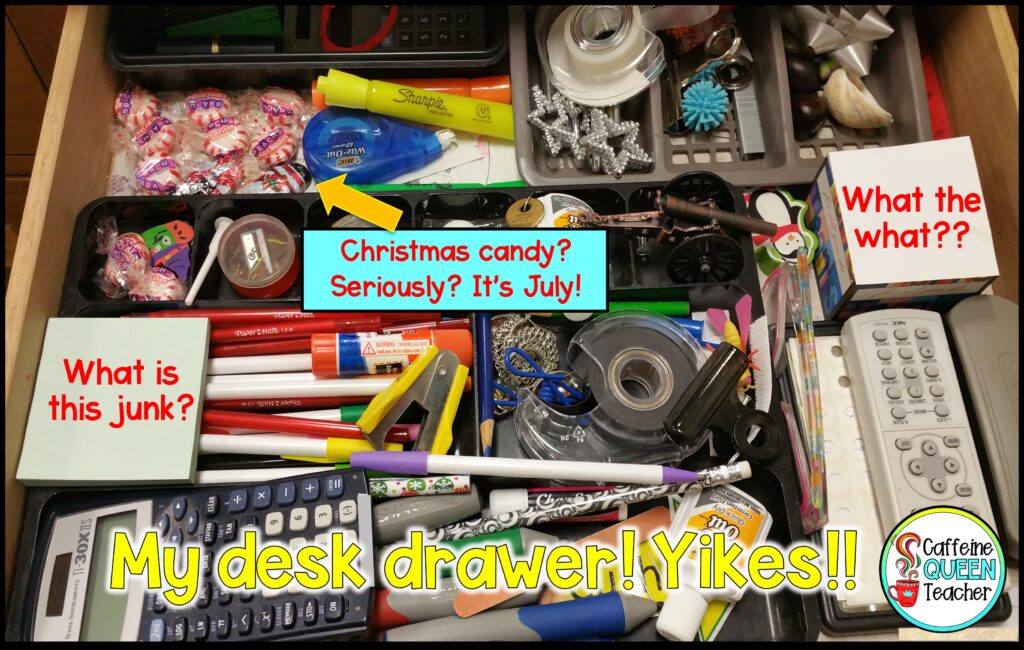
And don’t get me started on what I’ve found buried under stacks of papers in that middle drawer.
Weird candy from December. Penguin-shaped pencil sharpeners. A seashell. A tiny cannon. (Why??)
C’mon – admit it. You’ve got some odd treasures in there, too, right? ????
At this point, you might be thinking, “Should I really be taking organization tips from her?” Fair enough. We’ll call this one progress over perfection.
8. Organize… Everything
Okay, so you’d never know it from my desk drawer, but I’ve always been the “everything in its place” type. So after driving myself crazy with my disorganized chaos, I had to admit – I needed an organization system.
Since I didn’t have much desk space for actual, useful supplies, I made a DIY storage box for basics like pens, tape, and sticky notes. Not the prettiest thing ever (so no pics!), but it got the job done. If you want inspiration, Pinterest is full of beautiful versions.
One area that actually was functional? My math drawer.
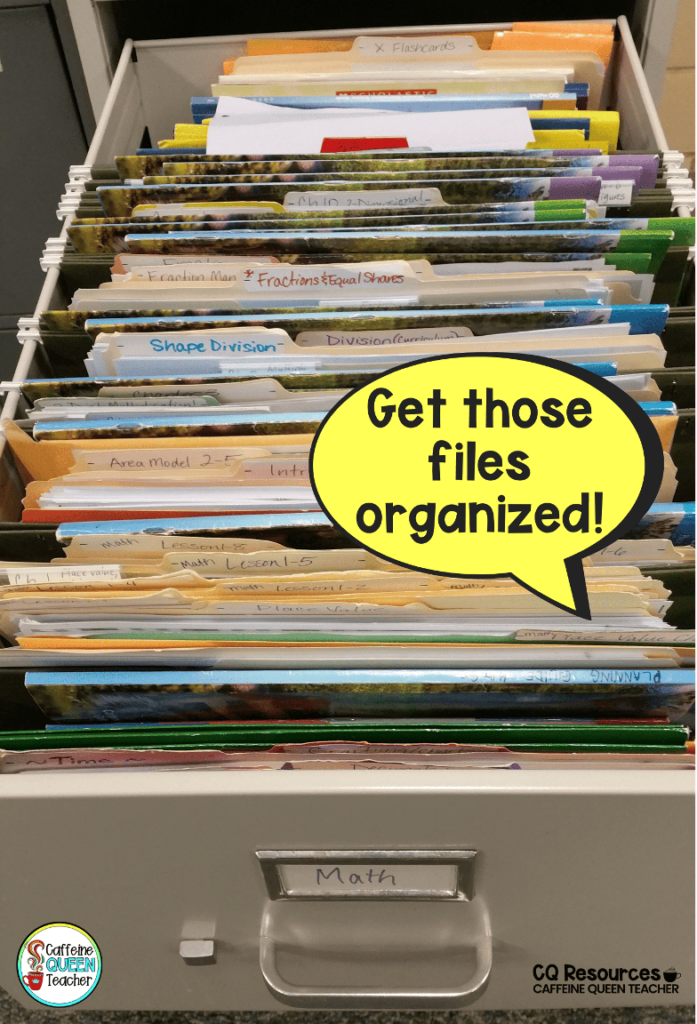
It wasn’t pretty – but it worked. Hanging file folders changed everything.
I resisted them for years, thinking I didn’t need more stuff. But a few dollars on folders that actually fit my filing cabinet? Totally worth it. That satisfying “everything has a place” feeling? Priceless.
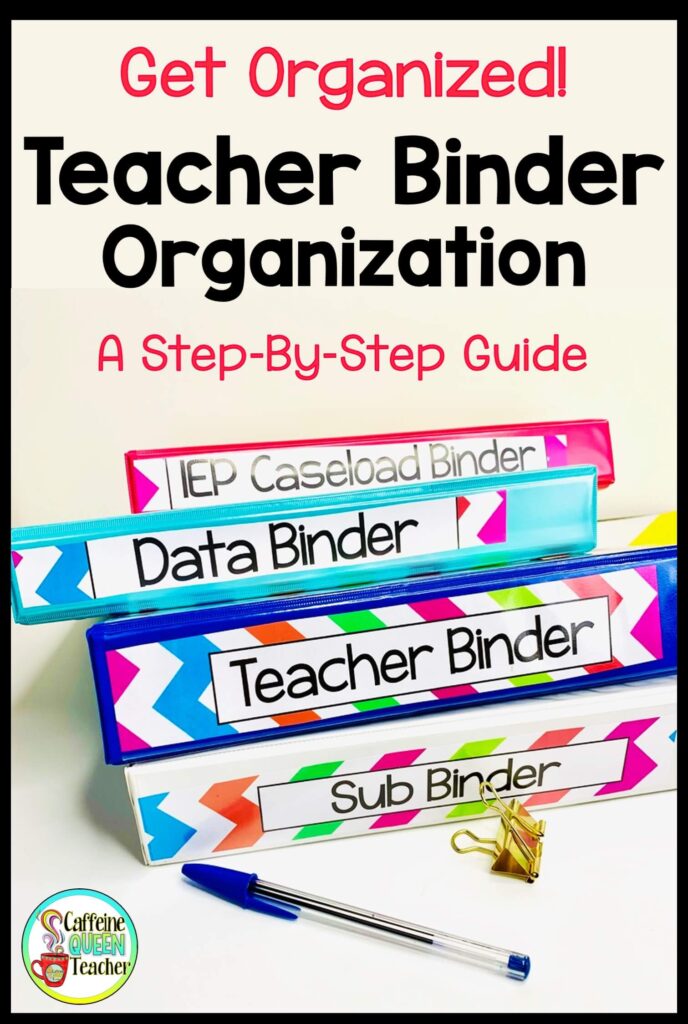
9. Plan with a Teacher Binder
I’ve always loved using a printed teacher binder. I tried going digital, but I couldn’t give up my gel pens and color coding.
Plus, having a binder I could grab for meetings made life so much easier. Everything I needed was right there – lesson plans, schedules, notes – all in one place.
I kept mine on the corner of my desk so I could grab it on the way out the door. It made me feel organized, even when everything else was a mess.
???? Looking for a printable system? Check out this step-by-step article: Teacher Binder Organization
10. Decorate!
Now for the fun part – decorating!
I loved this stage of setup. Filling in blank spaces. Making the room feel warm and inviting.
Teachers spend so much time in their classrooms – it should feel like a place you actually want to be.
And let’s be real: kids notice the details. Some students come from tough situations. That cozy corner with a lamp or a comfy chair? It matters.
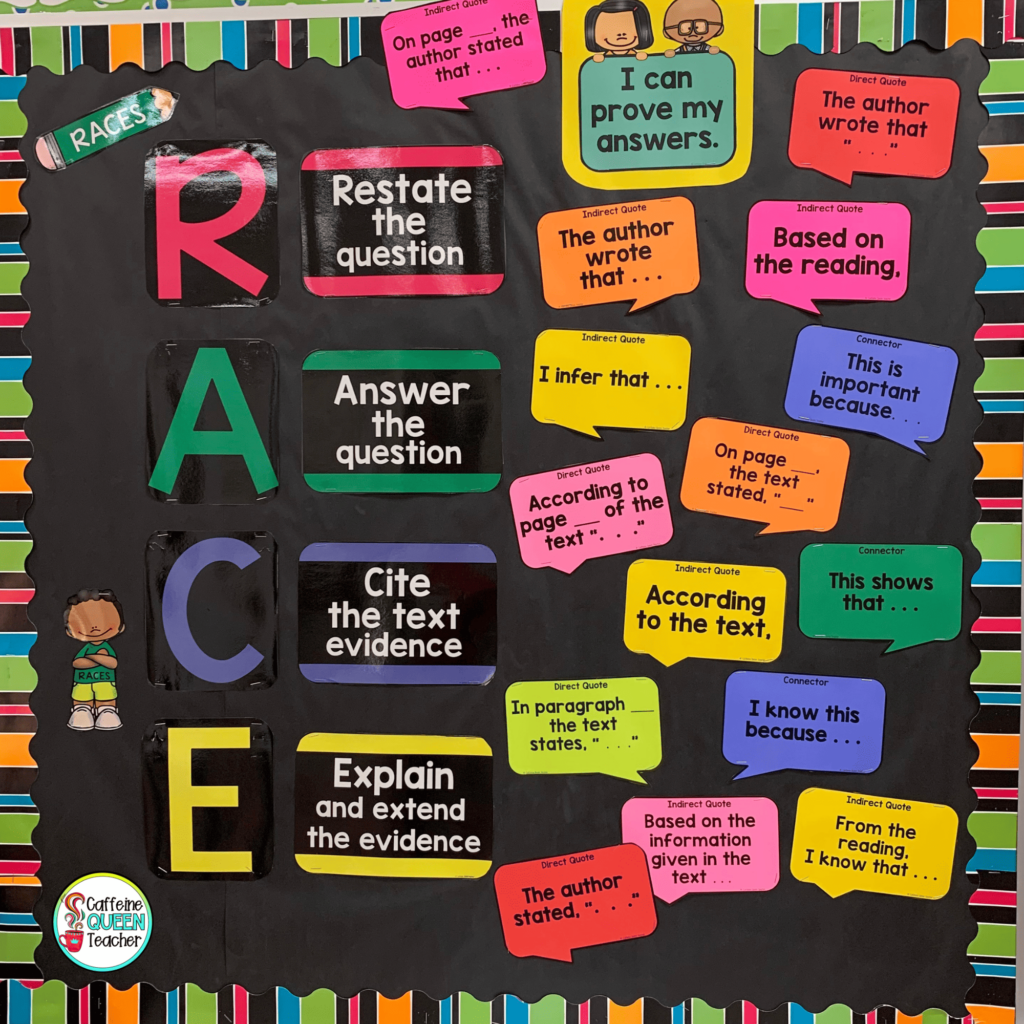
In my room, I loved using the RACE or RACES writing strategy posters and Speech bubble sentence starters. They were cute and functional – decor with a purpose.
Want more on the RACE strategy? Here’s a helpful article:
How to Teach the RACE Writing Strategy

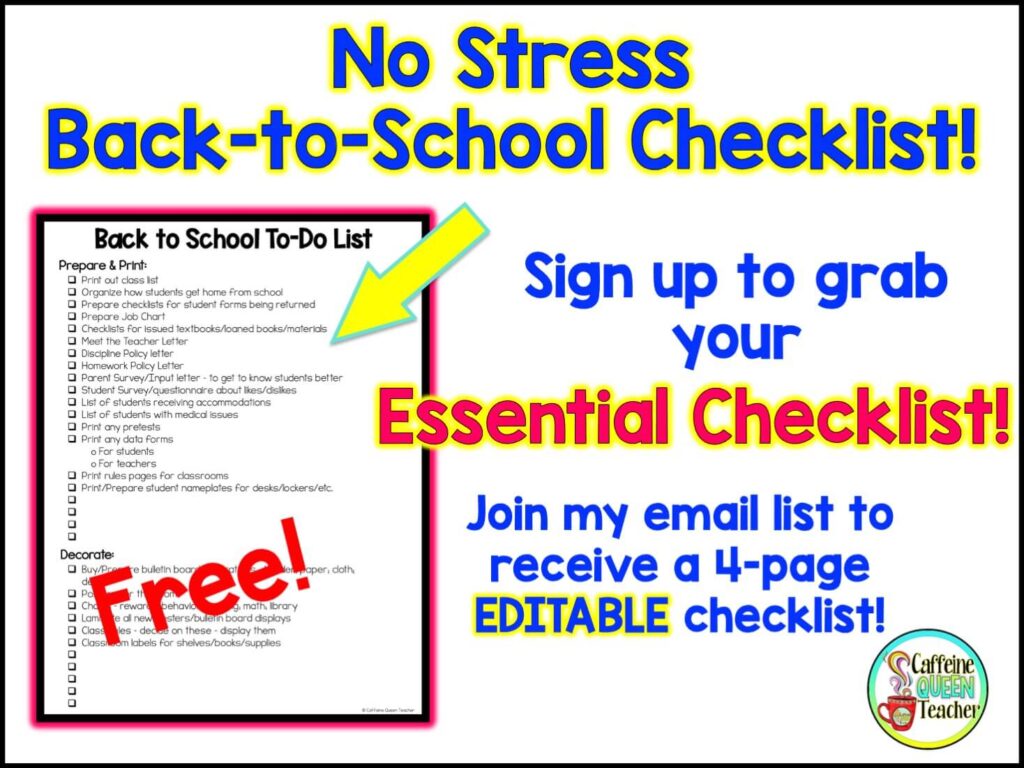
11. Grab the No-Stress Back-to-School Checklist – FREE!
This one’s for you.
Grab my No-Stress Back-to-School Checklist – free when you sign up for emails.
It’s updated with fresh ideas to help you start the year strong. Even better? It’s editable. You can tweak it to fit your grade level, school, or district requirements.
At the very least, it’ll make back-to-school planning feel less overwhelming.
FREE when you sign up for emails!
About the checklist ~
The checklist is updated with ideas for starting the school year.
Keep in mind there are so many variables with schools and precautions, so you’ll find an editable version! You can add more details to the lists.
At the very least, this No Stress Back to School Checklist will make your back-to-school planning a bit easier.
Pin this article for later ~

Want more helpful back-to-school ideas?
Read about MORE Back to School Tips!
Follow me on Teachers Pay Teachers if you found this article helpful!
About the Author
Written by Jules Rhee, MEd, and 30-year teaching veteran; originally published 7/19/2016; revision 6/10/25.
Jules is the creator of Caffeine Queen Teacher (CQT) – Visual Math Organizers + Graph Paper Support. She’s a veteran teacher with over 30 years of classroom experience (SPED, upper elementary, and middle school) and a Master’s in Education (MEd). Jules shares practical, classroom-tested ideas and creates step-by-step resources that help students stay organized, confident, and successful – especially with multiplication and long division.
Read more about Jules here: About Page | Browse resources here: TpT Store