


By Jules Rhee, MEd | Latest update 7/15/2026
Teach upper elementary students how to find and cite text evidence with these easy tips, lesson steps, and a free printable text evidence worksheet PDF!
I’ll never forget the day a student looked up at me, wide-eyed, and said,
“Wait… I have to prove it? What does that mean?”
Not in a sassy way – they were genuinely confused. And honestly? It was a good reminder.
Finding evidence in the text doesn’t come naturally to most kids. It’s a skill you have to teach step by step and keep practicing. That’s especially true for students who are used to answering fast and moving on, without stopping to check if they’re right

Teaching students to cite text evidence isn’t just about prepping for a test. It helps them become real readers. It sharpens their thinking, deepens their understanding, and builds their confidence when they realize, “Hey, I can actually do this.”
Here’s the good news. With the right tools, like interactive passages, scaffolds, and graphic organizers, this skill doesn’t have to feel scary. It can even be fun (really!).
Let’s talk about why this skill matters and how to make it stick.
Why Text Evidence Matters
Teaching students to cite text evidence is one of the most important skills you can build in upper elementary. It’s not just about finding the answer. It’s about proving it.
When students read a passage, they should be able to back up their thinking with facts and details from the text. Saying “the character is brave” is a nice start, but now it’s time to prove it. What exactly did the character do that showed bravery?
That’s the difference between guessing and really understanding.
Using text evidence helps students think more deeply, ask better questions, and make stronger connections. It builds their reading and writing skills at the same time.
So how do we make this skill stick? Let’s look at some practical strategies that actually work.
Step 1: Important – Start with the Right Passage
Not every reading passage is built for teaching text evidence. To teach this skill well, you need the right kind of text. Here’s what to look for:
A. Keep It Simple
Start with a short, clear passage. If you can, pick something a level below where your students usually read, so they can focus on the skill itself instead of struggling through the words.
If the text is too hard, students may give up before they even get to the good part.
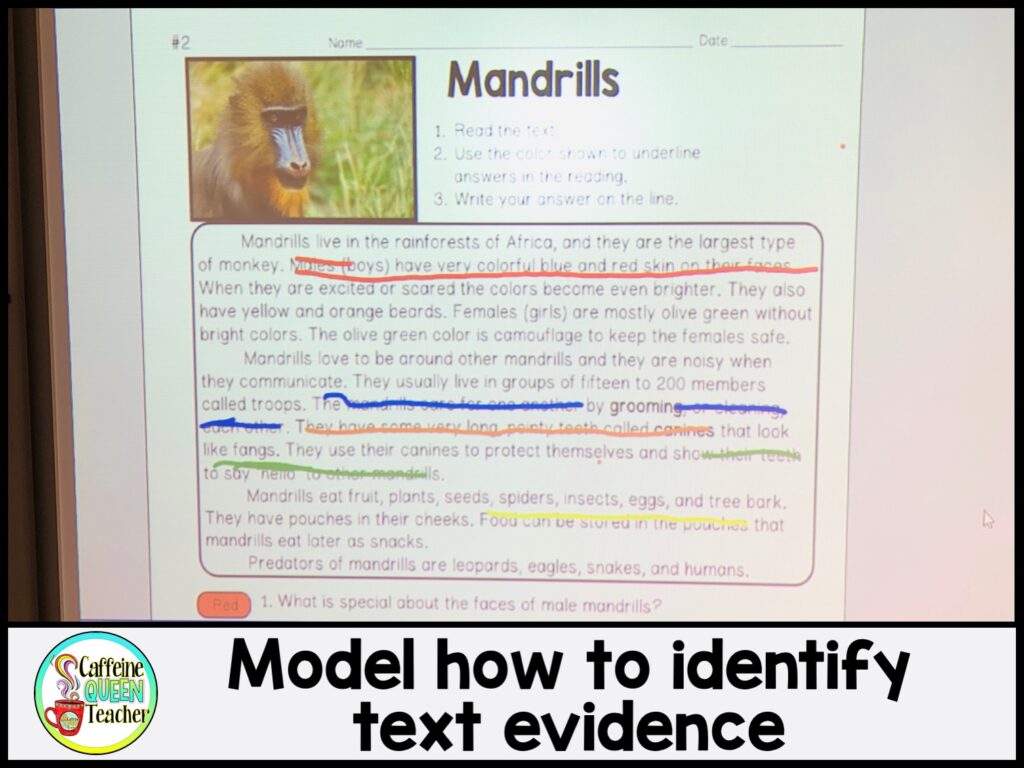
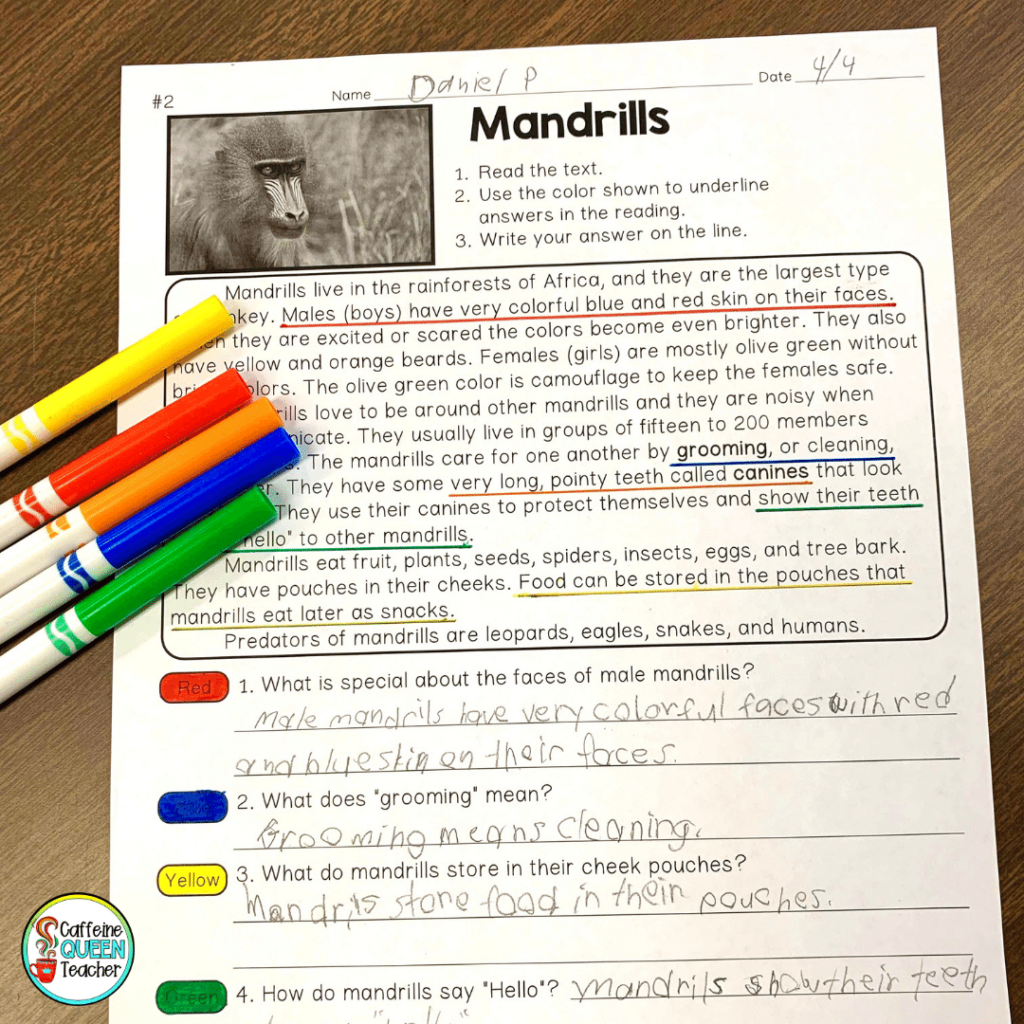
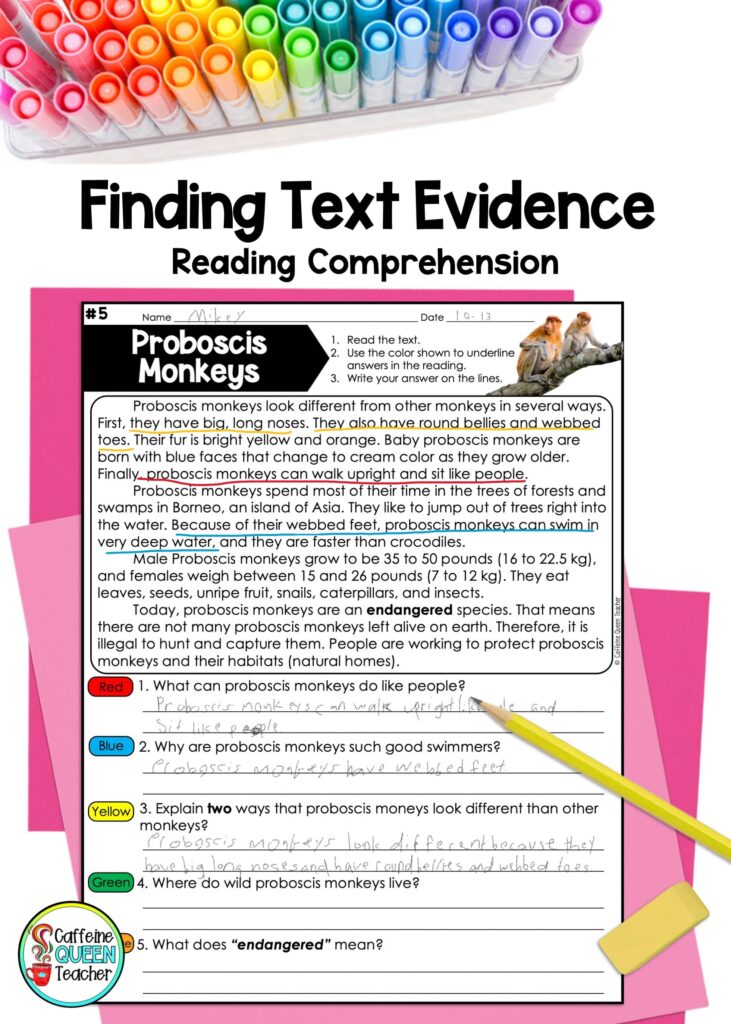
One of my go-tos is a short article on mandrills. It’s full of fun facts, quick to read, and perfect for showing students how to find and cite evidence without feeling overwhelmed
B. Set Them Up for Success
Students need to feel successful, especially when they’re learning something new.
The easier the passage, the faster they can focus on how to find answers, not just what the answers are.
And when students get it right, they get an instant confidence boost! That’s what keeps them trying
To make this easy for you, I’ve put together a free, high-interest text-evidence reading passage worksheet you can download to get started right away.
C. Choose Passages with Text-Dependent Questions.
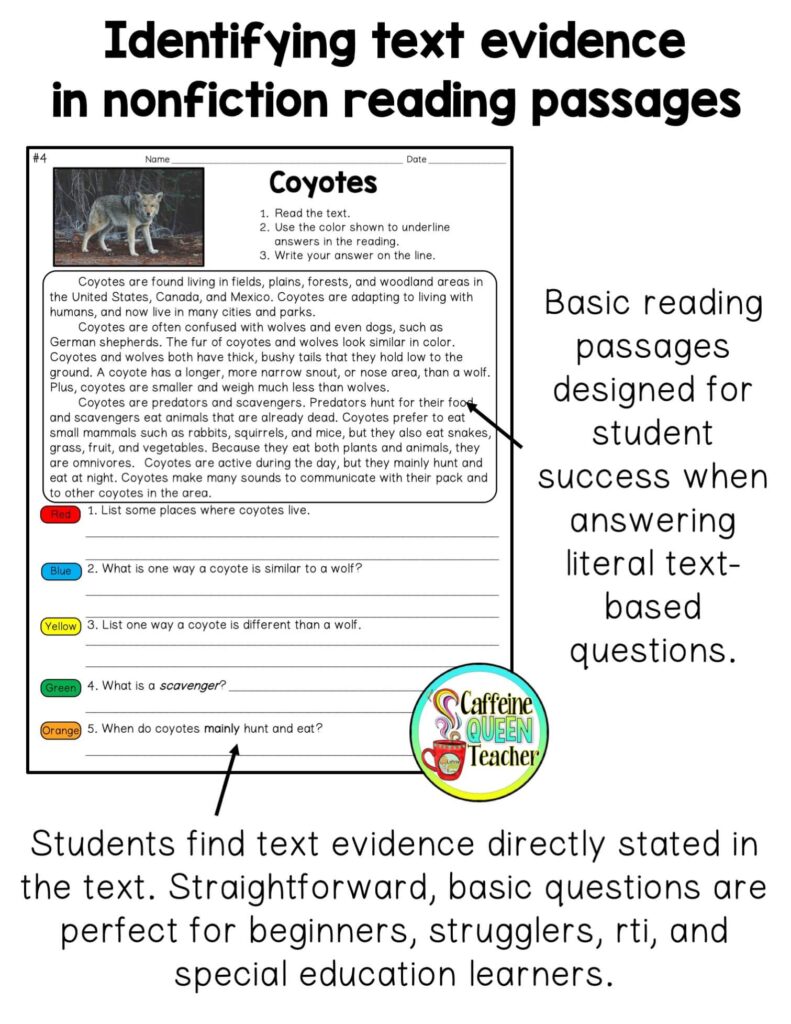
Look for questions where the answers are clearly in the text. Students need to see it, highlight it, and use it. These aren’t trick questions or inference puzzles, they’re proof and evidence practice.
Once students have the hang of finding and citing evidence, you can move on to harder texts and more complex responses. But in the beginning, keep it simple.
Step 2: Introduce Key Vocabulary Early
Before we start, I put the passage up front on the screen and say, “Don’t underline anything yet, just read.”
Step one is always to read the whole thing.
This is also a great time to introduce, or clear up, some important vocabulary.
I start by pointing to the directions and asking, “What do they mean by ‘text’?”
A few students usually smirk and say, “Like… a phone text?”
Nope, that’s not what it means in our classroom.
We talk about how in reading class, “text” means any written piece with meaning: a passage, story, article, poem, selection, or excerpt. All of those words show up on standardized tests, and they all mean the same thing: something to read.
Then we move on to the phrase “text evidence.” I tell that we’re like detectives looking for proof, details from the reading that support or back up our answers.
We also break down the word “prove.” Some students hear that word and think they need to explain why they’re right. But here, prove just means show me the words that make your answer true.
These quick conversations clear up confusion before it even starts.
Step 3: Read the Whole Article – No Skimming!
Next up: the first full read.
We take a quick look at any photos or captions, then I read the article aloud all the way through, without any stopping or distractions.
The reason is that students need the big picture before we zoom in on the details. It helps with focus, stamina, and comprehension.
After that first read, we start again and dig into the real work.
Step 4: Find the Evidence and Show Your Work
Now it’s time to go back and prove it.
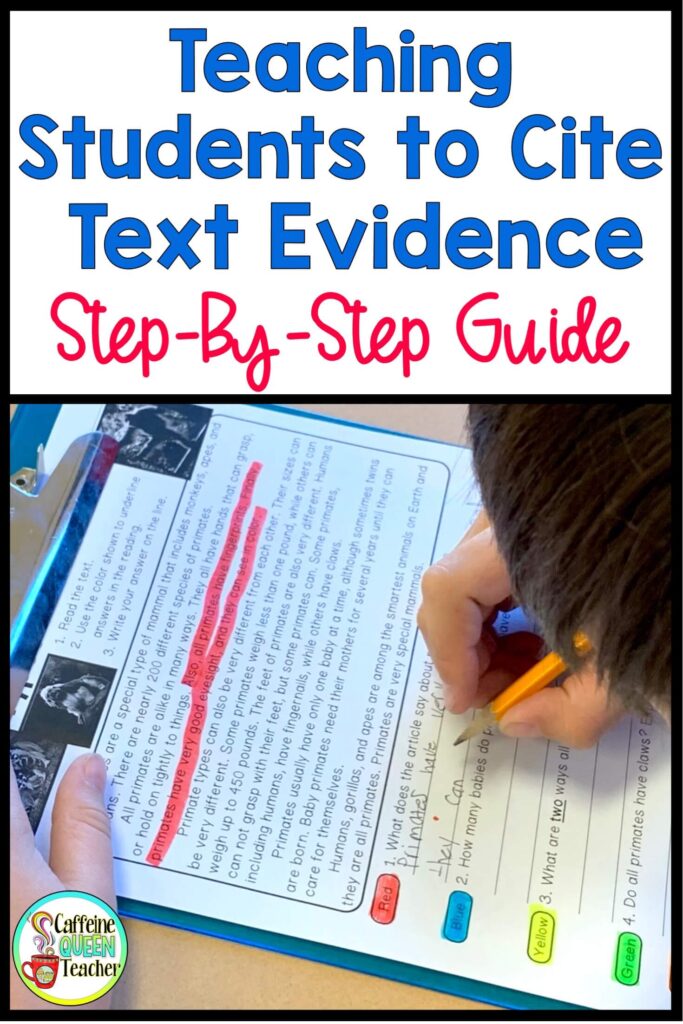
This is where we reread the passage and underline the answers using a specific color. It’s simple, visual, and it works.
I tell students, “When you back up your answer with text evidence, you’re not guessing. You’re showing your work. You’re saying, ‘Here’s where I found it.’ That’s how we know your thinking is solid.”
Then I model the process out loud:
“The question is asking how the animal stays safe. Let’s find that part of the article…”
We scan. We pause. We check.
“Does this sentence really answer the question?”
Sometimes I even model it wrong on purpose. I’ll underline a totally unrelated sentence and ask, “Wait… does this make sense?”
The class loves correcting me, and it shows them how easy it is to get off track if you’re not careful.
That’s also why we start with short, clear passages. If the reading is too hard, students get lost before they even begin. Keep it simple and focus on the skill.
Once we land on the right section, I show students how to underline the evidence using the designated color.
Why Color Coding Works (and Why Kids Love It)
Color coding seems basic, but it makes a real difference.
It makes the important words easy to spot, keeps papers neater, and it just makes the lesson more fun.
Students underline directly on the passage (no separate papers flying around), and they stay more engaged when they get to use colored pencils or markers. Just be sure to show them what underlining should actually look like. A light, simple line does the job, no need to go over it five times to make everything perfect.
You can even assign different colors for different types of questions or steps in the process. One glance, and students know exactly where to look.
In the end, color coding helps students read more carefully and write more complete answers. Plus, their confidence grows as they become more comfortable with the process.
Step 5: Writing the Answer
This is where students often get stuck: they’ve found the evidence, underlined it… and then freeze.
They aren’t sure what to do next.
A lot of kids default to copying the whole sentence they underlined. Sometimes that works, but not always. The sentence might be too long, or maybe it doesn’t fully answer the question on its own.
That’s when we teach them to slow down and pull out just what matters.
We talk about how to take just the important parts, the details that actually answer the question, and leave the extra fluff behind. Sometimes students need to combine information from more than one sentence to build a complete, solid answer.
I taught it by modeling my thinking out loud.
“The question’s asking how the character solves the problem. I found part of the answer here, and another piece down here. Now I’ll put them together in my own words.”
That kind of modeling is gold. When students see how you think through a response, they start to build their own blueprint.
One big tip: Have students read the question more than once. I used to tell mine, “Read it. Then read it again, slower.” The more they understand what’s actually being asked, the stronger their answer will be.
The goal is to help students go from just copying sentences to actually building their own answers. They need to pull the right parts of the text together and put the ideas in their own words.
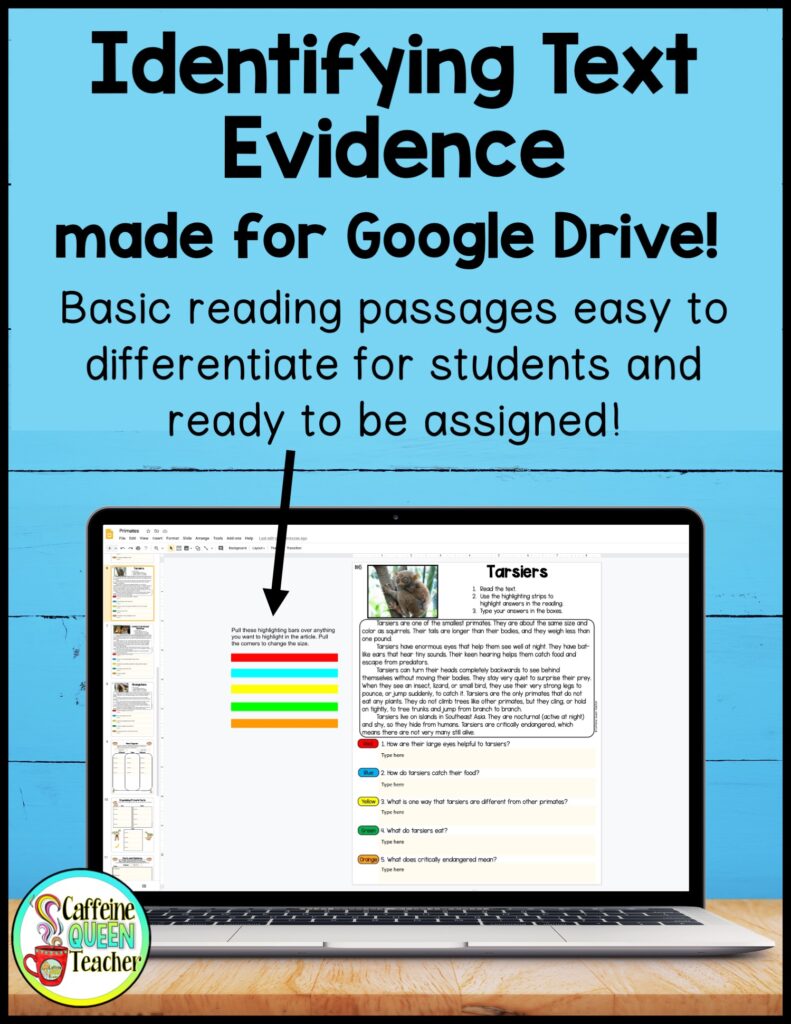
Using Digital Assignments
This works just as well digitally. If you’re assigning through Google Drive or a similar platform, look for passages with interactive features built in, virtual highlighting or movable answer strips work the same way as underlining on paper.
For struggling readers, try adding hints or margin notes, then deleting them for students who don’t need the extra support. Instant differentiation, no fuss.
If you don’t have pre-made digital passages, it’s no problem. You can use your printables digitally.
Read – Converting PDF Worksheets to Digital Format
Read – Assigning Just a Slide or Two in Google Classroom
Read – Sharing Assignments with Students in Google Classroom
Whether you assign it using paper and pencil or online, students can still learn how to find and prove their answers.
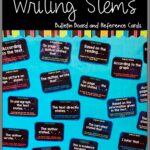
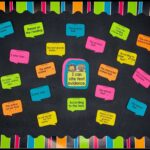
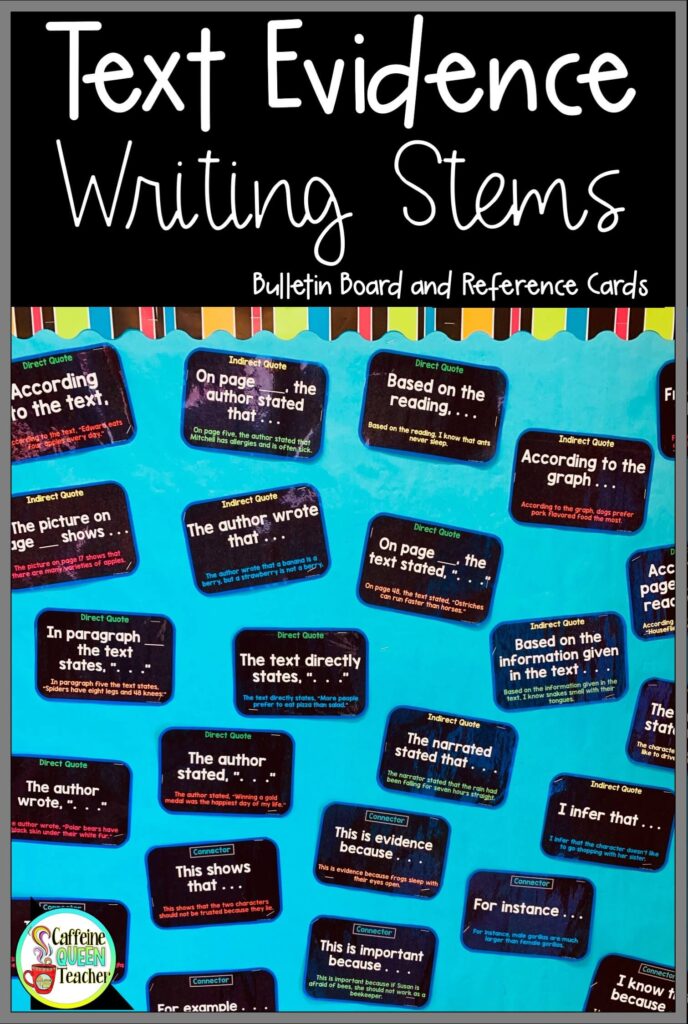
Writing Stems for Citing Text Evidence
This is the perfect time to bring in writing stems, also known as sentence starters or thinking stems.
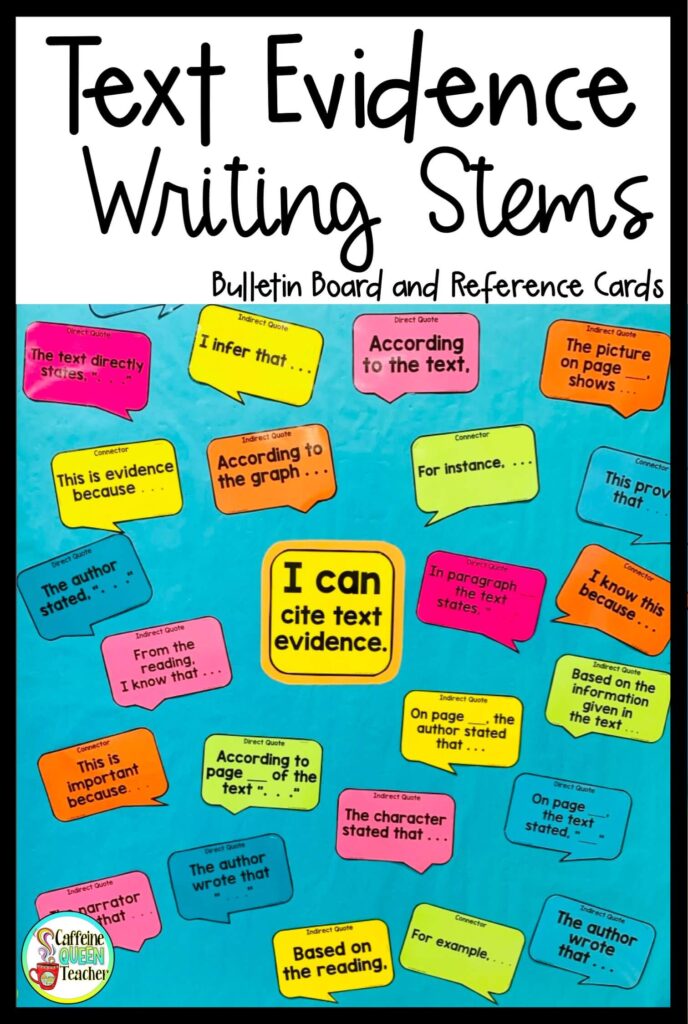
Writing stems give students a way to ease into their responses. When they know what to say but don’t know how to start, these phrases help them break the ice.
A couple of my go-tos: “The text says…” and “I know this because…”
At first, students lean on them like training wheels. But with practice, they start writing strong answers on their own, and that’s exactly what we want.
If you want the full list, plus a breakdown of test-prep stems, read my complete guide to writing stems for citing text evidence.
Bonus tip: Have students use writing stems in other subjects too, like science, social studies, and even math explanations. Once they’re in the habit of backing up their thinking with evidence, they’ll just naturally start adding the proof to their answers.
Future Lesson Ideas
Once your students are getting the hang of citing text evidence, here are a few lesson ideas to take things a step further:
- Evidence vs. Details Mini-Lesson
Teach students the difference between general story details and true supporting evidence. - Using Direct and Indirect Quotes
Show students how to mix direct quotes and paraphrasing to strengthen their writing. - The RACE – RACES Writing Strategy
Introduce RACE, RACES, or a similar method to help students organize their answers in a clear, structured way.
Where to Find the Resources from This Article?
Looking for ready-to-go materials to help you teach text evidence? These are some of my most popular and effective resources:
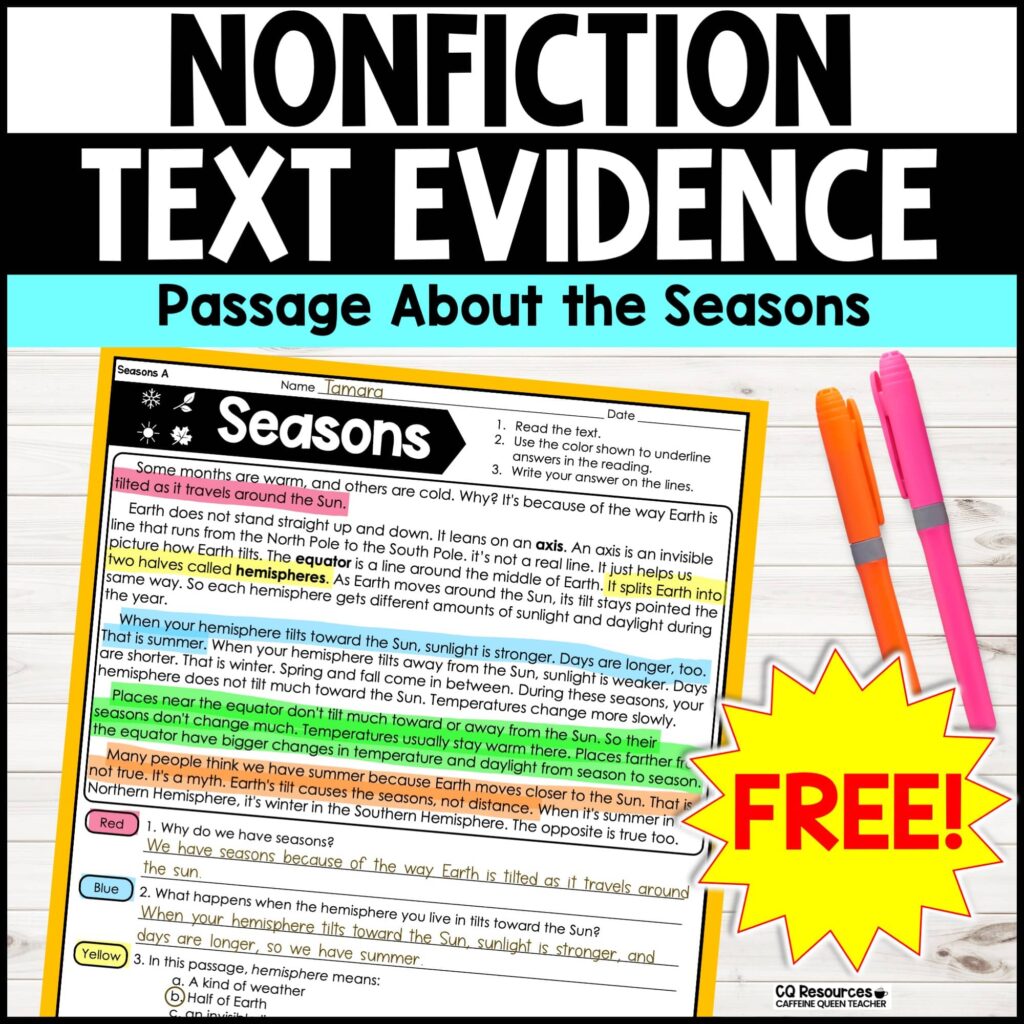
FREE high-interest text-evidence reading passage worksheet to download: I want to make this easy for you to get started right away!
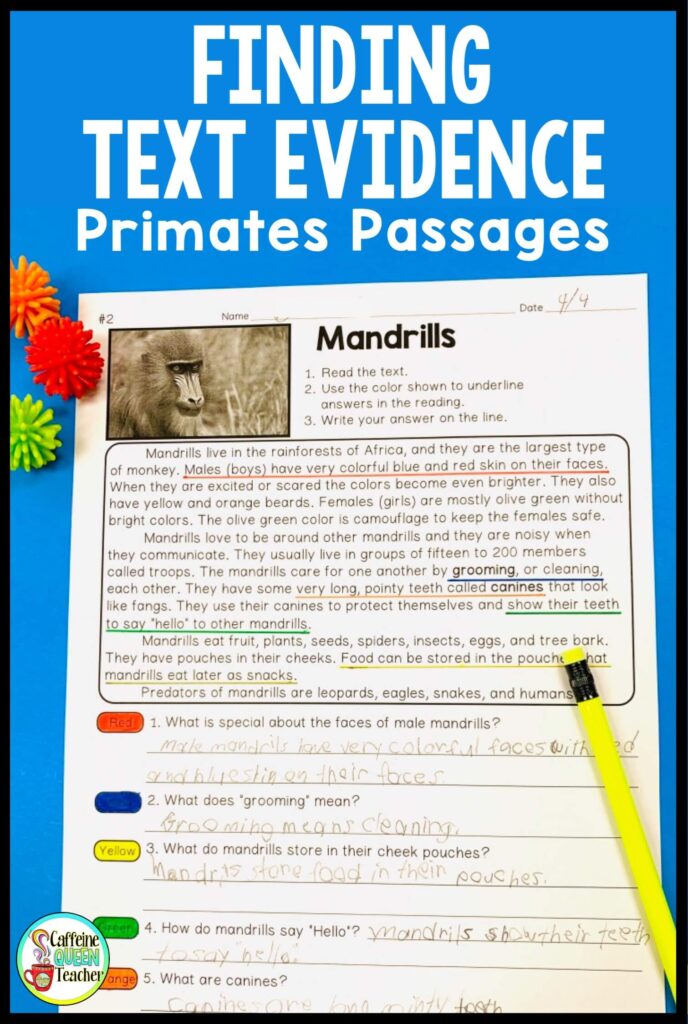
Primates and Woodland Animals Reading Passages: This set includes 17 nonfiction passages focused on high-interest animals. Students practice finding and citing text evidence with engaging, print-and-go activities
Fall Reading Passages: 20 fiction and nonfiction passages with an autumn theme. Perfect for helping students pull key information and support their answers with confidence.
Winter-Themed Reading Passages: Another 20 fiction and nonfiction passages centered around winter topics. Students practice marking up texts and citing the details that matter.
Spring Reading Passages: Your students will love reading about spring! These passages help them find evidence in a fun, seasonal context. Great for both small groups and test prep.
Summer Reading Passages: Your students will love reading about spring! These passages help them find evidence in a fun, seasonal context. Great for both small groups and test prep.
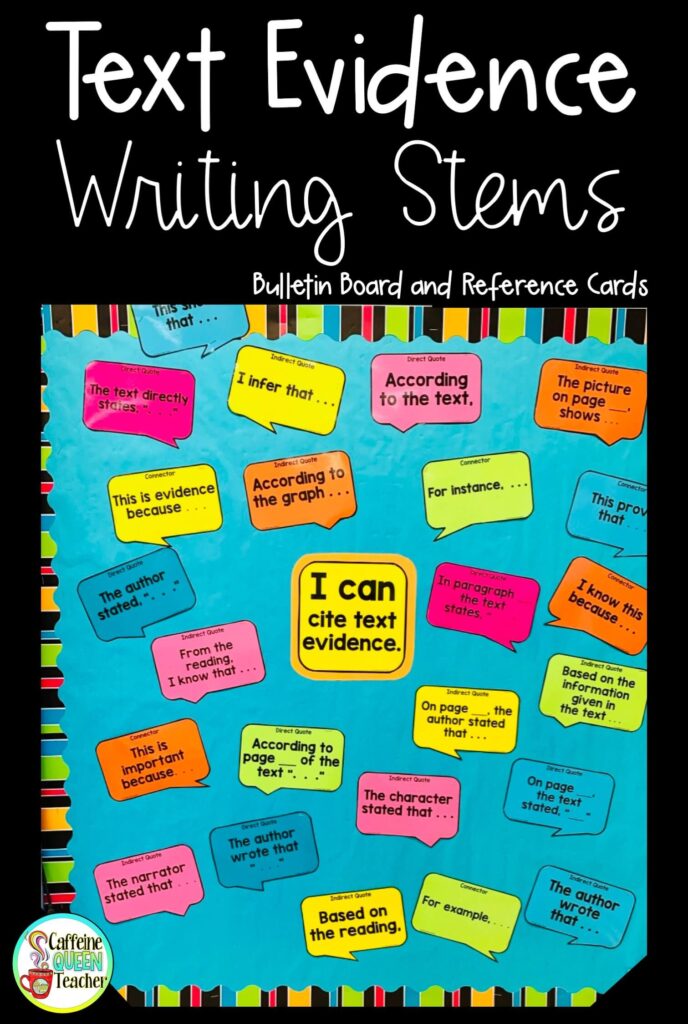
Writing Stems for Citing Text Evidence – Bulletin Board Set: A full set of sentence starters to help your students write clear, focused answers. These sentence stems give them a starting point that’s especially helpful during testing season.
RACE – RACES Strategy Bulletin Board Posters: Teach your students to write organized, text-supported responses with this easy-to-remember writing strategy. It’s a visual reminder they’ll use all year long.
More Articles You’ll Love:
No-Stress Test Prep: The Ultimate Guide
How to Teach Compare and Contrast Essays
How to Teach the RACE Writing Strategy
Prepare for Testing with Writing Stems
Let’s connect!
If this article was helpful, I’d love for you to follow me on Teachers Pay Teachers and Pinterest. Let’s keep making reading and writing easier for students – and less stressful for you!
About the Author
Written by Jules Rhee, MEd, and a 30-year teaching veteran; published 11/8/2019; latest update 7/15/2026.
Jules is the creator of Caffeine Queen Teacher (CQT) – Visual Math Organizers + Graph Paper Support. She’s a veteran teacher with over 30 years of classroom experience (SPED, upper elementary, and middle school) and a Master’s in Education (MEd). Jules shares practical, classroom-tested ideas and creates step-by-step resources that help students stay organized, confident, and successful – especially with multiplication and long division.
Read more about Jules here: About Page | Browse resources here: TpT Store